Prevent Churn with Customer.io
Proactively prevent churn with an automated campaign powered by Customer.io and Upollo churn scores
What this Play does:
This Play automatically syncs Upollo’s Churn Scores to your Customer.io account, allowing you to proactively engage with at-risk customers, improve retention rates, and prevent churn.
Proactive campaigns (rather than reactive) can see more than 2x better win-back rates for customers who were intending to churn or cancel their subscription. This Play was inspired by real campaigns run by our customers on their combined user bases of over 100M users.
Please note: Direct sync with Customer.io is only available to enterprise accounts. Contact us to enable this feature on your account.
Requirements:
For this Play to work, you should have the following accounts set up:
- Upollo Account: Upollo brings together all of your customer data (App/Website, Billing/Subscription, CRM, Customer Support) to provide insights and predictions for Conversion, Churn/Retention, and Expansion. Get started for free.
- Customer.io Account: For sending emails to your users. This Play uses Customer.io as the destination for sending emails to users based on custom criteria, for example a Churn Score generated by Upollo. This Play assumes you’ve already set up your domain via the Customer.io documentation.
This Play will walk you through moving data between Upollo and Customer.io to help prevent churn:

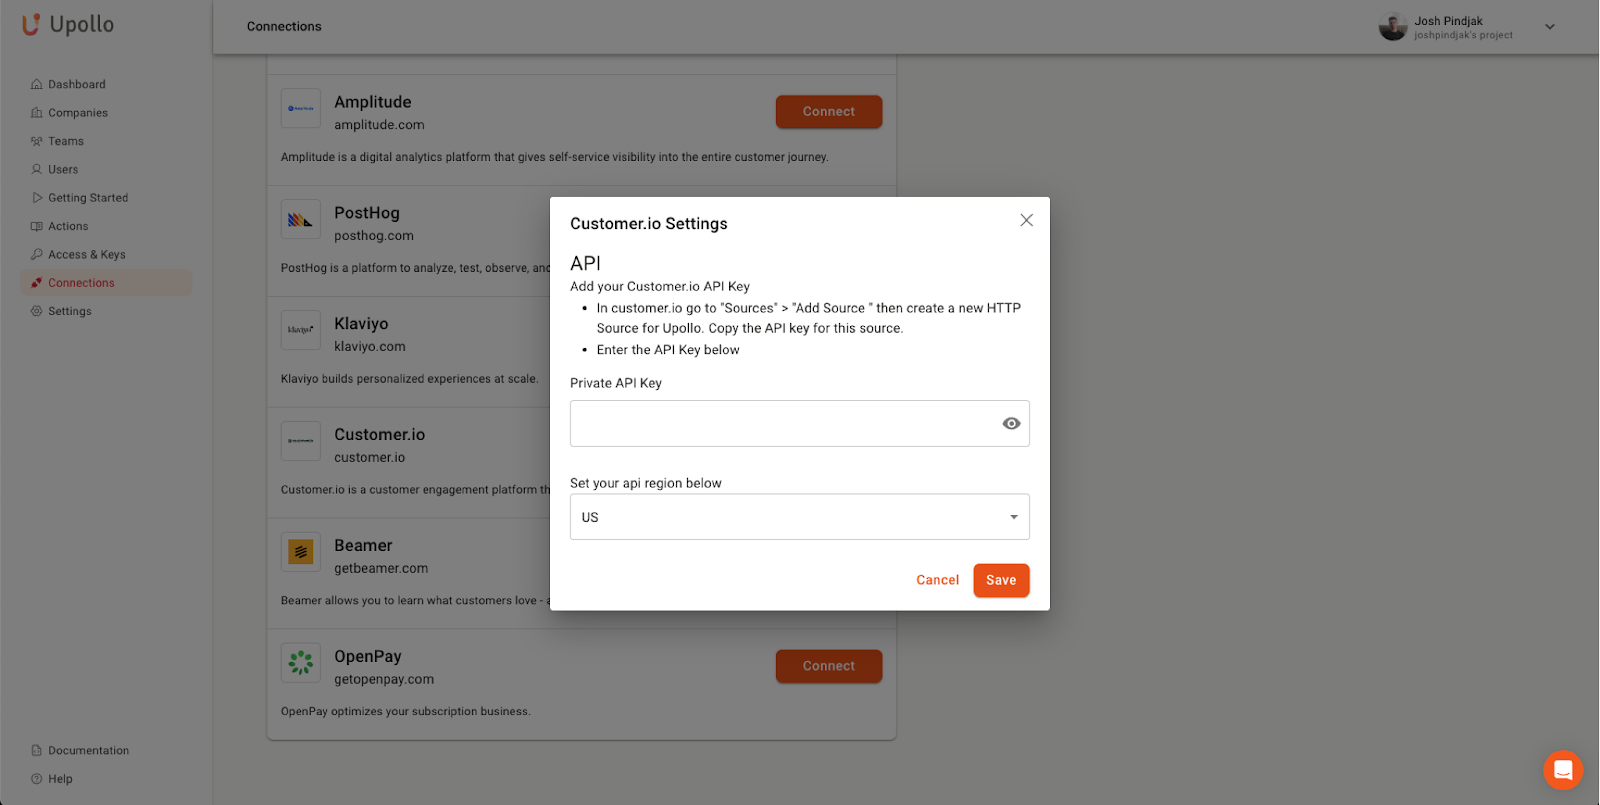
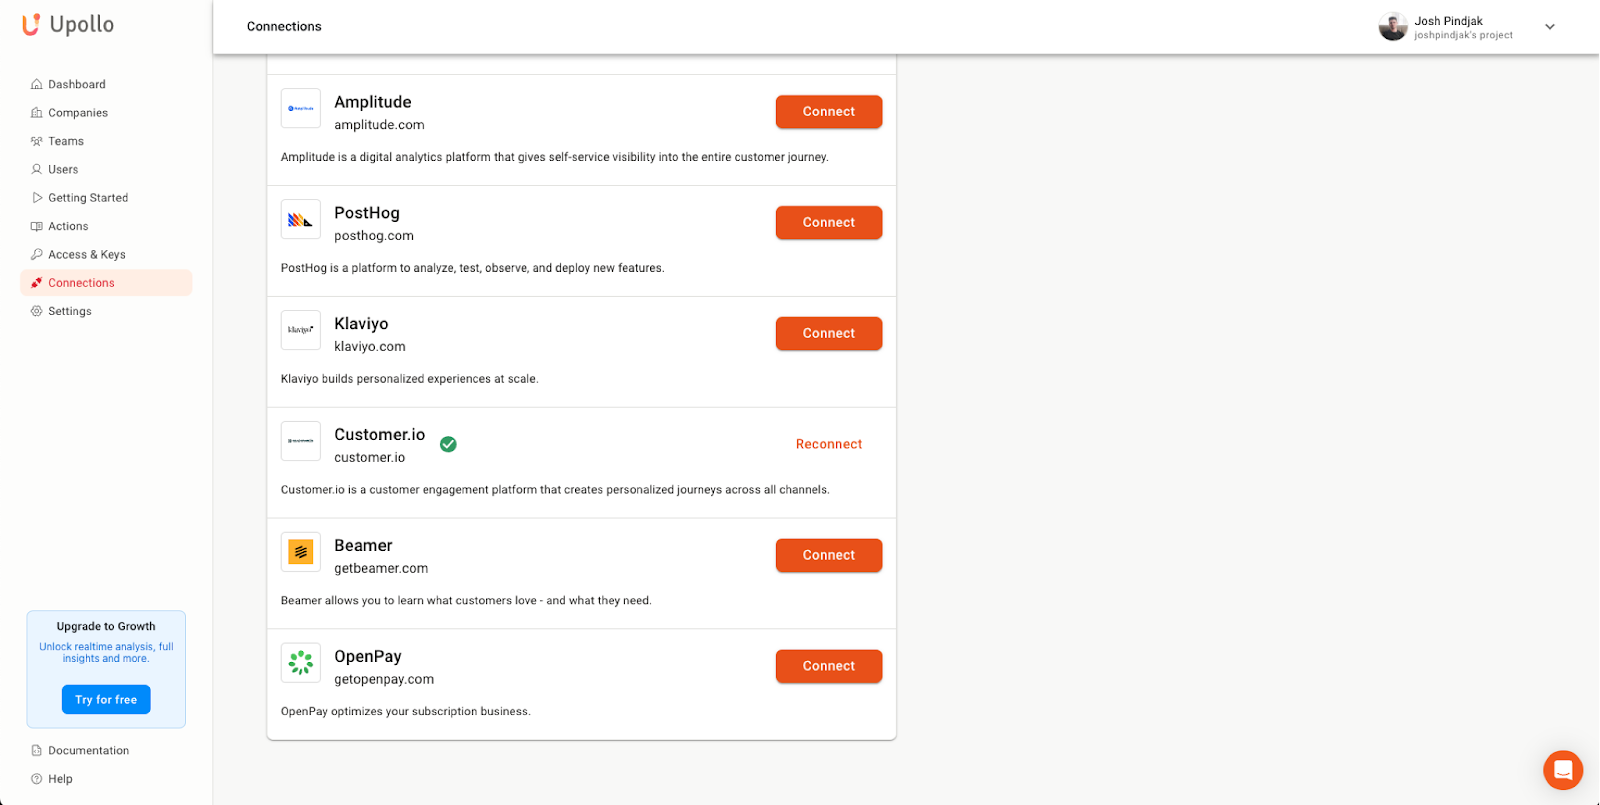
In Upollo, go to the Connections page and find Customer.io. Click the Connect button.

To connect, Upollo requires an API key generated by Customer.io. Open a new tab/window and log into your Customer.io dashboard.
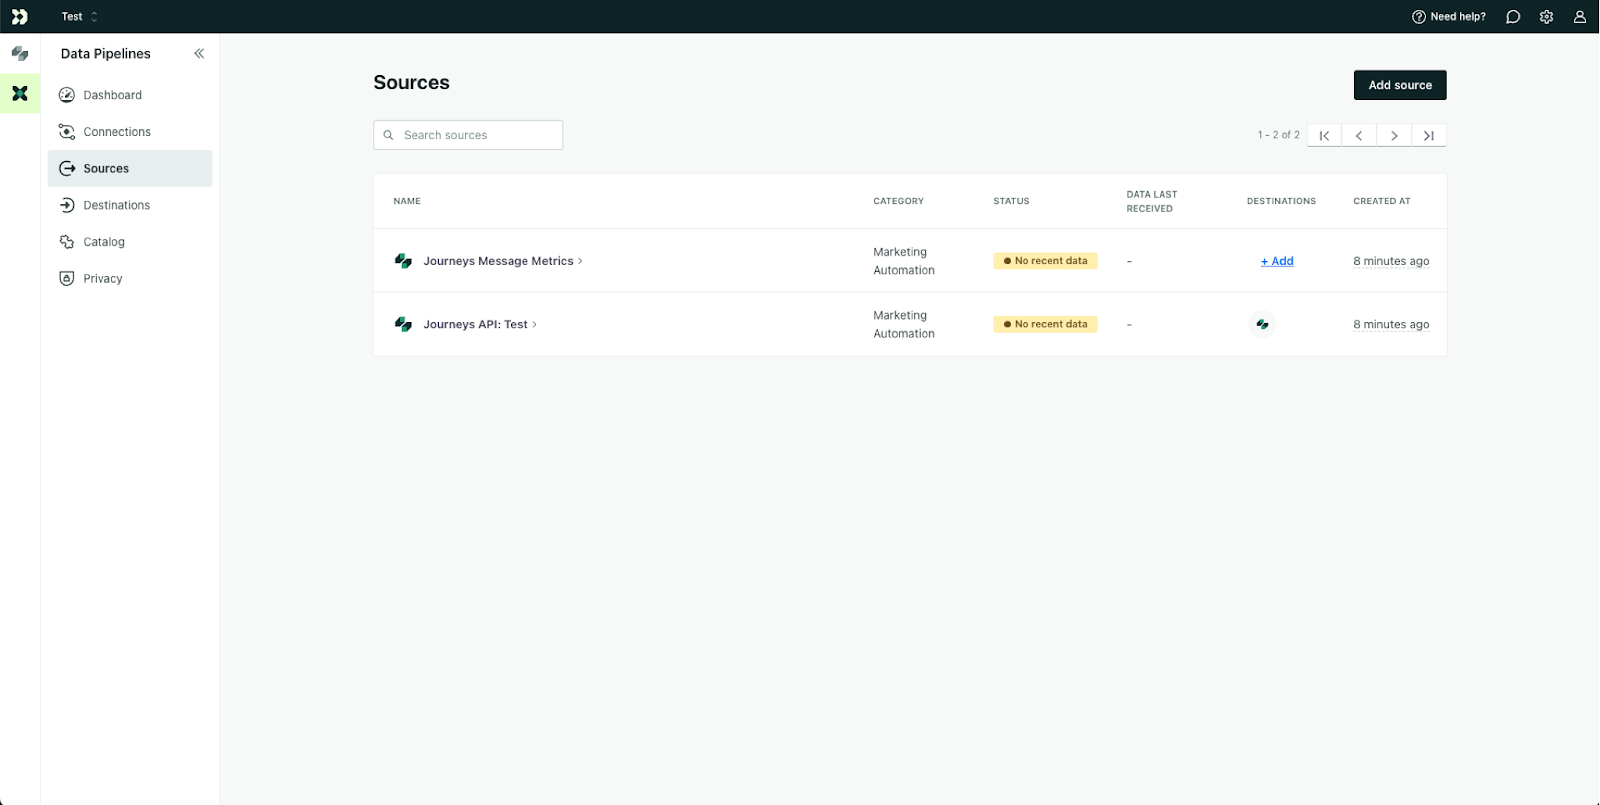
In Customer.io, Go to Data Pipelines → Sources → Add Source.
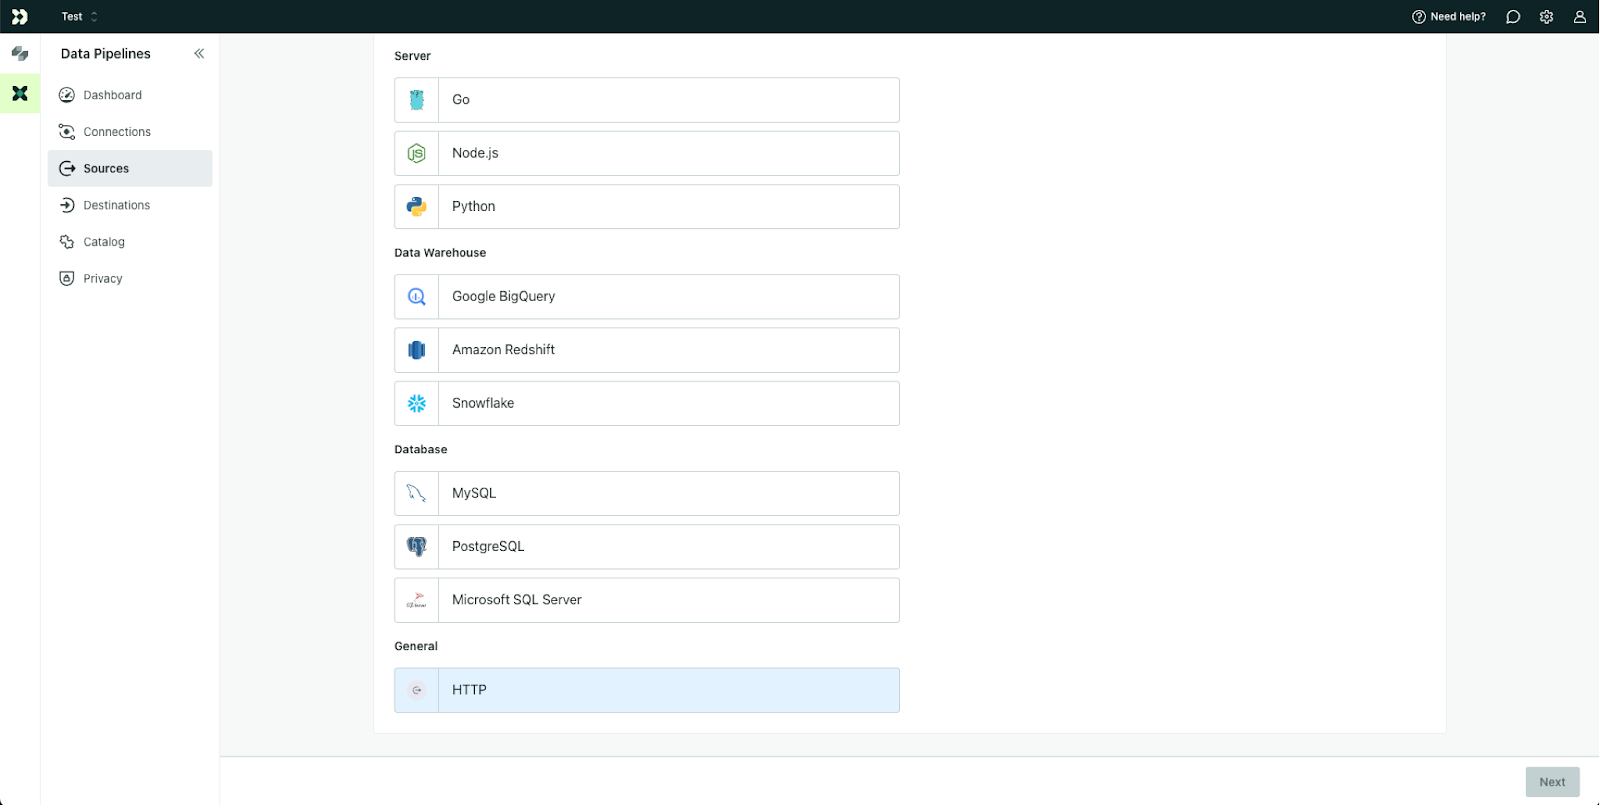
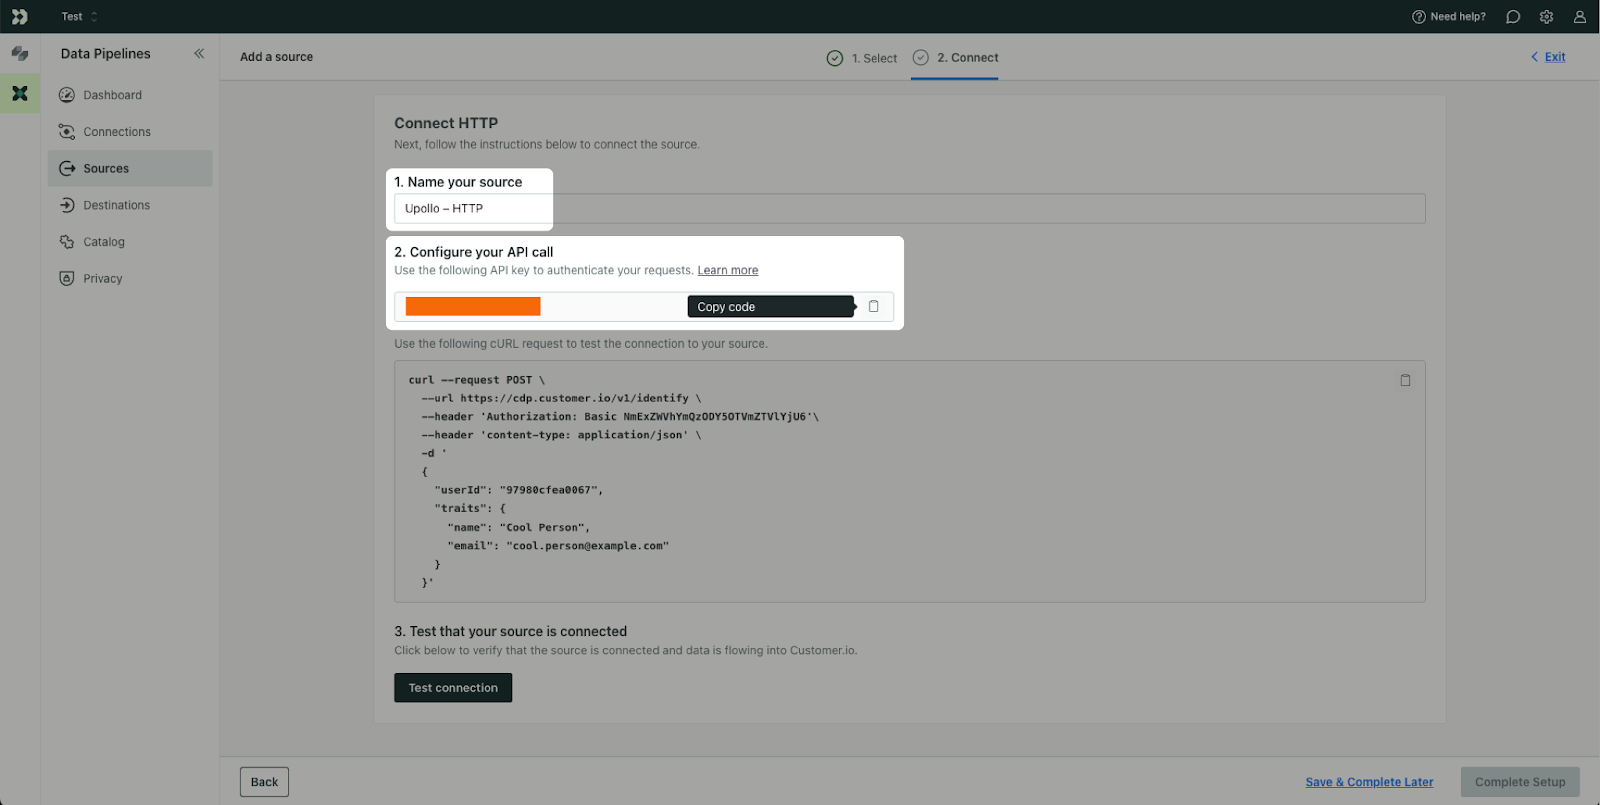
Scroll down and select HTTP as the Source type. Click Next.
On the following screen, name the Source something helpful, like Upollo - HTTP, and then copy the API key in Step #2. Be sure to keep this key secure and do not share it with anyone.
Back in Upollo, paste the API key into the API key field, and select the location of your API region.

After saving, you’ll see a green check indicating that you’ve successfully connected Customer.io to Upollo. Data should begin automatically flowing into your Customer.io account.
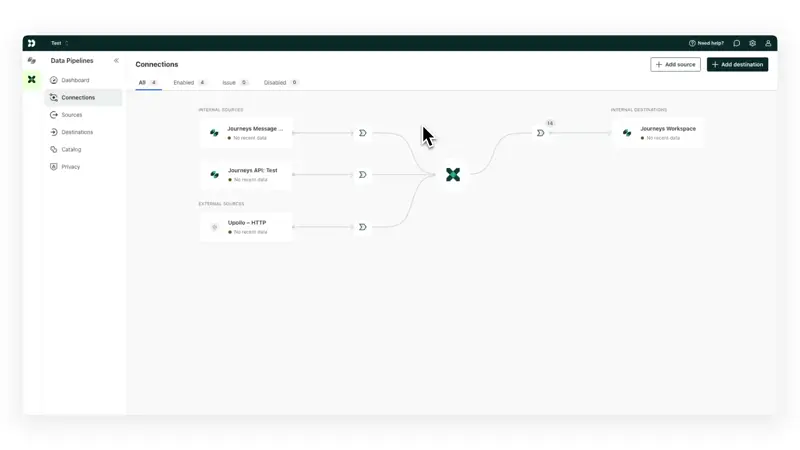
In Customer.io, go to the Data Pipelines section, then go to the Connections tab. Your setup might look a little differently if it’s already set up.
- In the Internal Destinations section, click on Journeys Workspace.
- Click the “Add Source” button.
- In the panel, select the Upollo HTTP source that we created earlier. Click Connect.
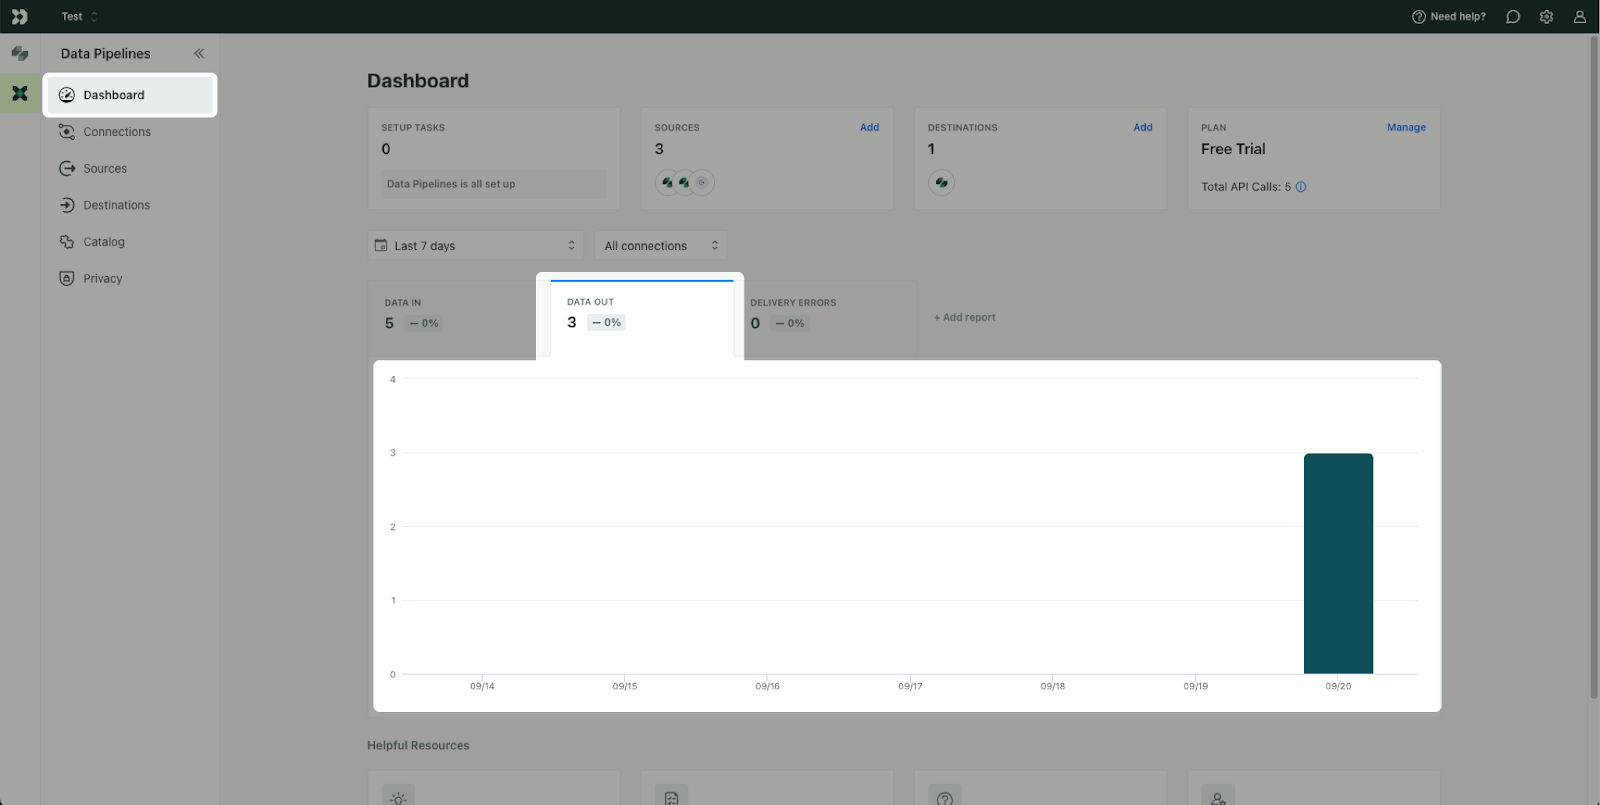
Go to the Dashboard tab. You can confirm that data is being synced properly if you see new events in the Data Out tab.
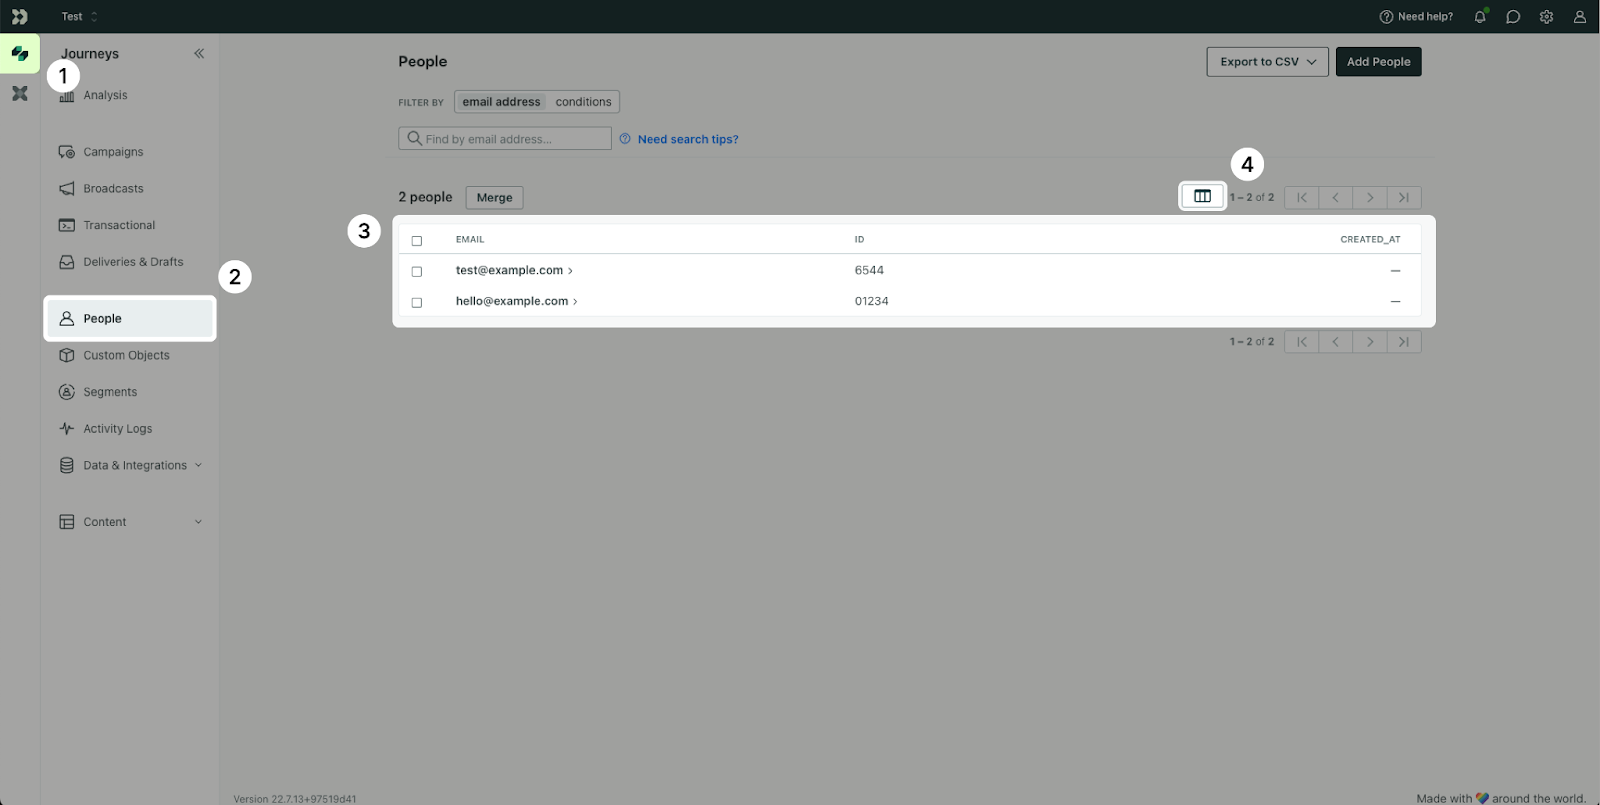
In the Journeys tab (1), go to the People page (2) and confirm that your users from Upollo (3) have synced to Customer.io. To ensure Upollo Churn Scores have synced correctly, click the Edit displayed attributes button (4) to edit the columns shown on this page.
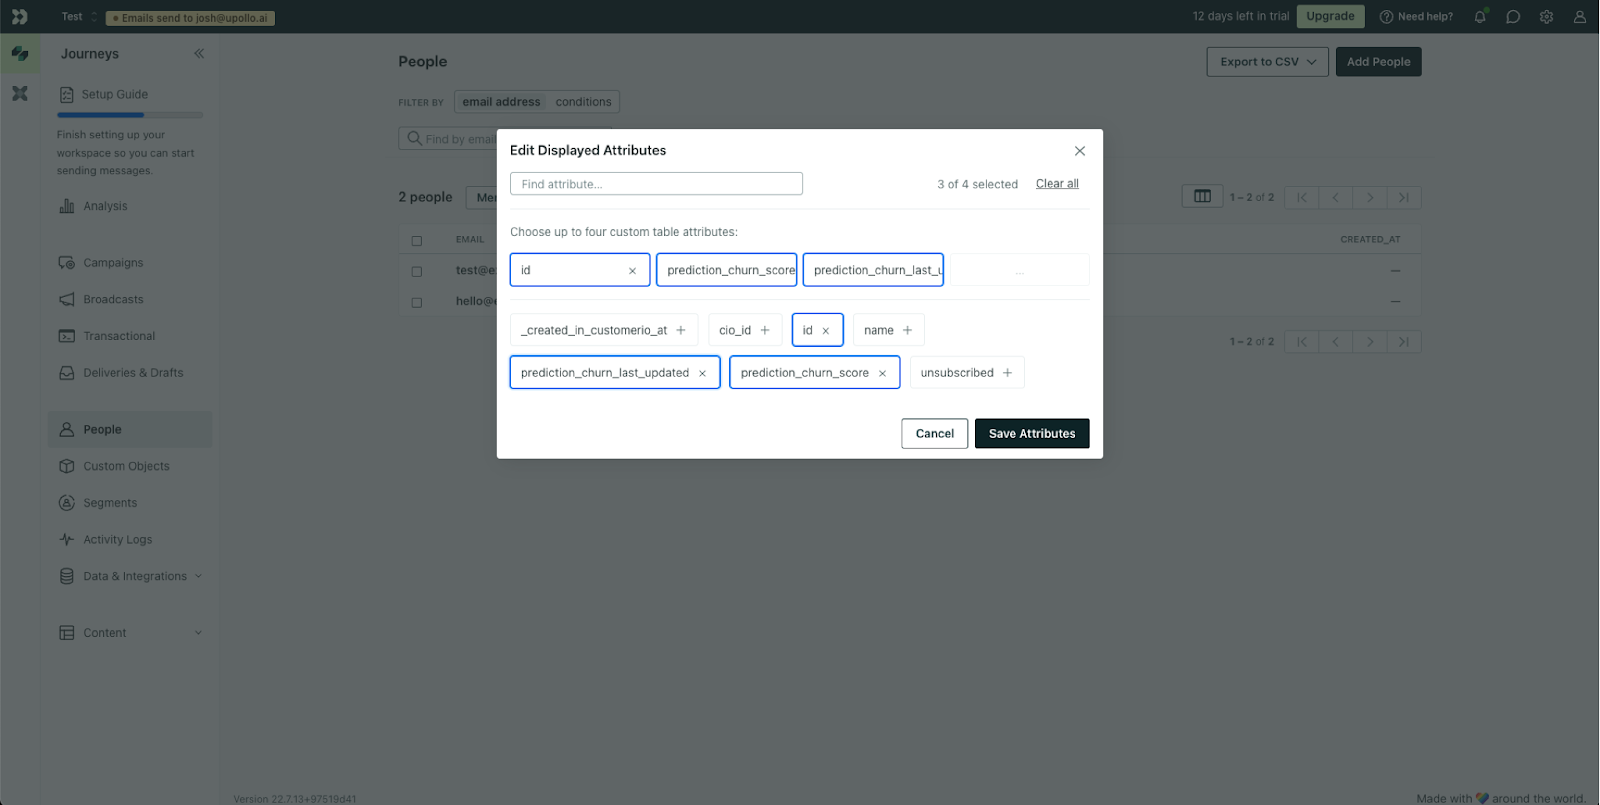
In the Edit Displayed Attributes menu, search for the following Upollo attributes:
- prediction_churn_score: A 0-100 score of how likely a user is to churning in the next 30 days. 0 means very unlikely and 100 means highly likely that a person will churn.
- prediction_churn_last_updated: A timestamp for the last time the user’s churn score was updated. This helps with filtering for recency to ensure your users are getting timely communications.
Click Save attributes.
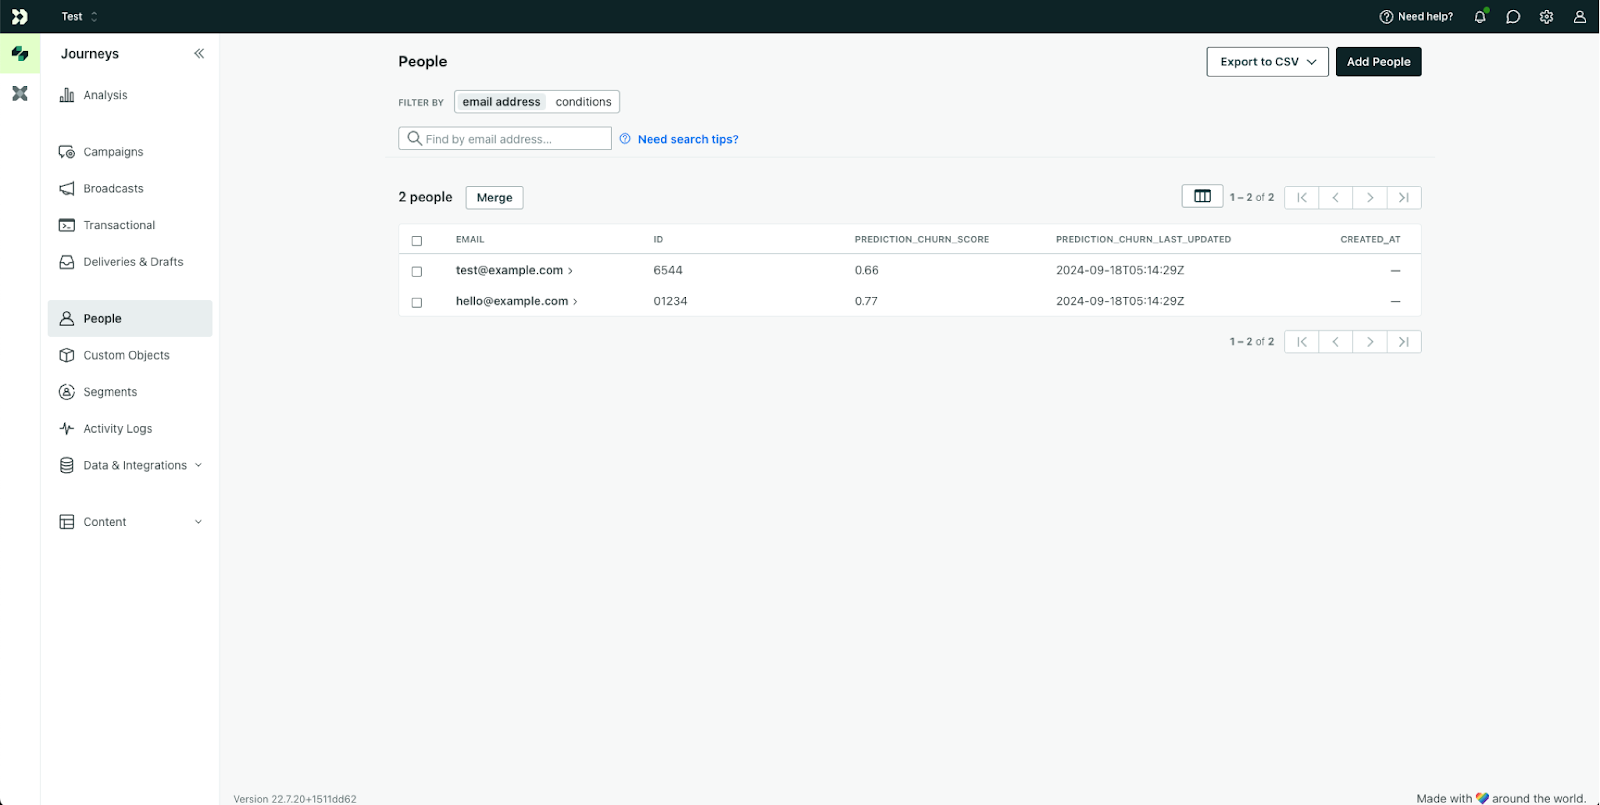
When viewing the People page, the table displays the user’s Churn score as well as the date it was last updated. We can use this going forward to segment and target our users and proactively prevent churn.
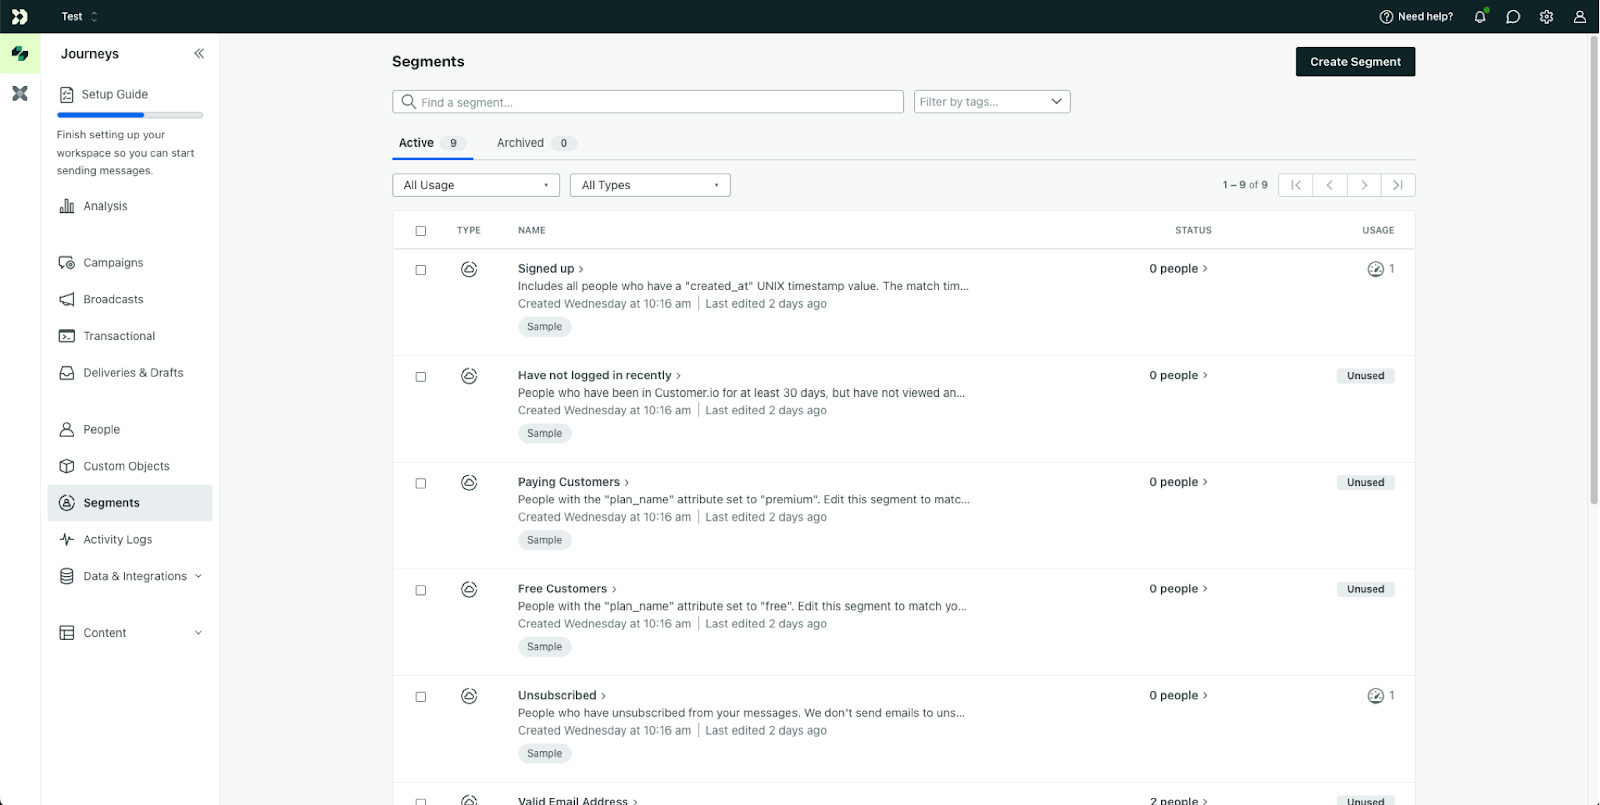
Go to the Segments tab (located in the Journeys tab). Click Create Segment in the top right corner.
Give your segment a descriptive name, ours is called High Risk of Churn. Underneath “Choose a Segment Type”, click Create Data-driven segment.

In the Segment criteria, feel free to copy our settings shown below, or customize based on what makes sense for your company. At Upollo, we consider users with a churn score of 75 or above, within the last 14 days, to be at high risk of churn.
- Attribute prediction_churn_score: is greater than 0.74
- Attribute prediction_churn_last_updated: is a timestamp before a relative date of 14 days from now.
Click Save Conditions once you’re happy with the segment conditions.

Finally, we are at the fun part: Actually preventing churn. We’ve written before about the various reasons why people churn, and how these reasons can actually require a different approach. For this Play, let’s focus on reason #1 from our article, and a very common reason for churning: Not Realizing Enough Value.
These users haven’t used all of the key features in your app, and they haven’t logged in for weeks, resulting in a high churn score. To prevent this churn, let’s set up a campaign to automatically reach out to people who are slipping away.
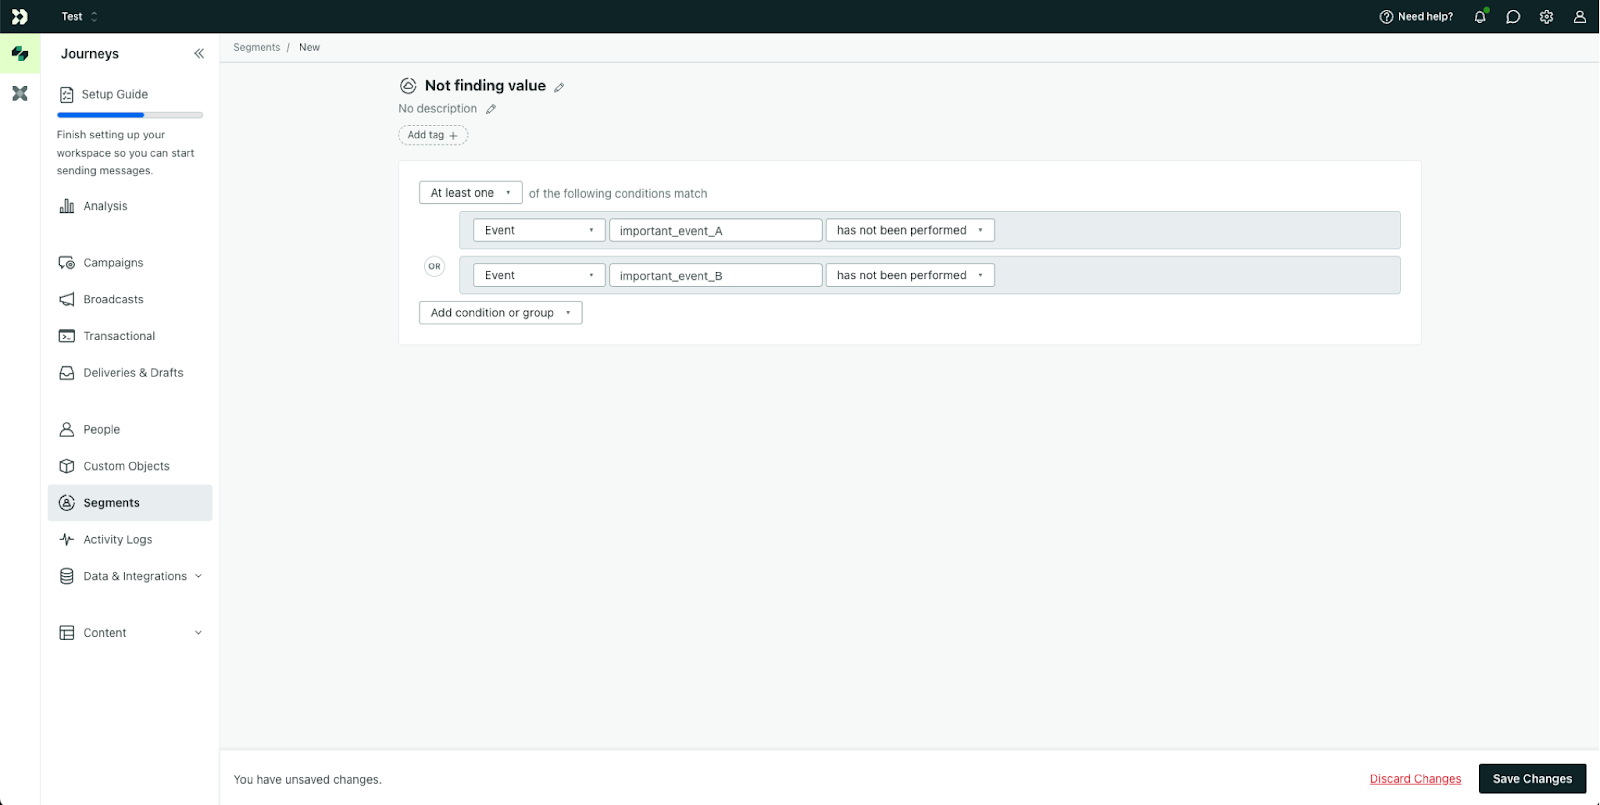
You can quickly create a segment for Not Finding Value in Customer.io by including users who haven’t done certain important events or actions, here is a basic example shown below. Apps like Upollo can actually figure out which events are the most important and impactful when it comes to churn prevention.
To create an automated churn prevention campaign in Customer.io, go to the Campaigns tab. Create a new Campaign from scratch.
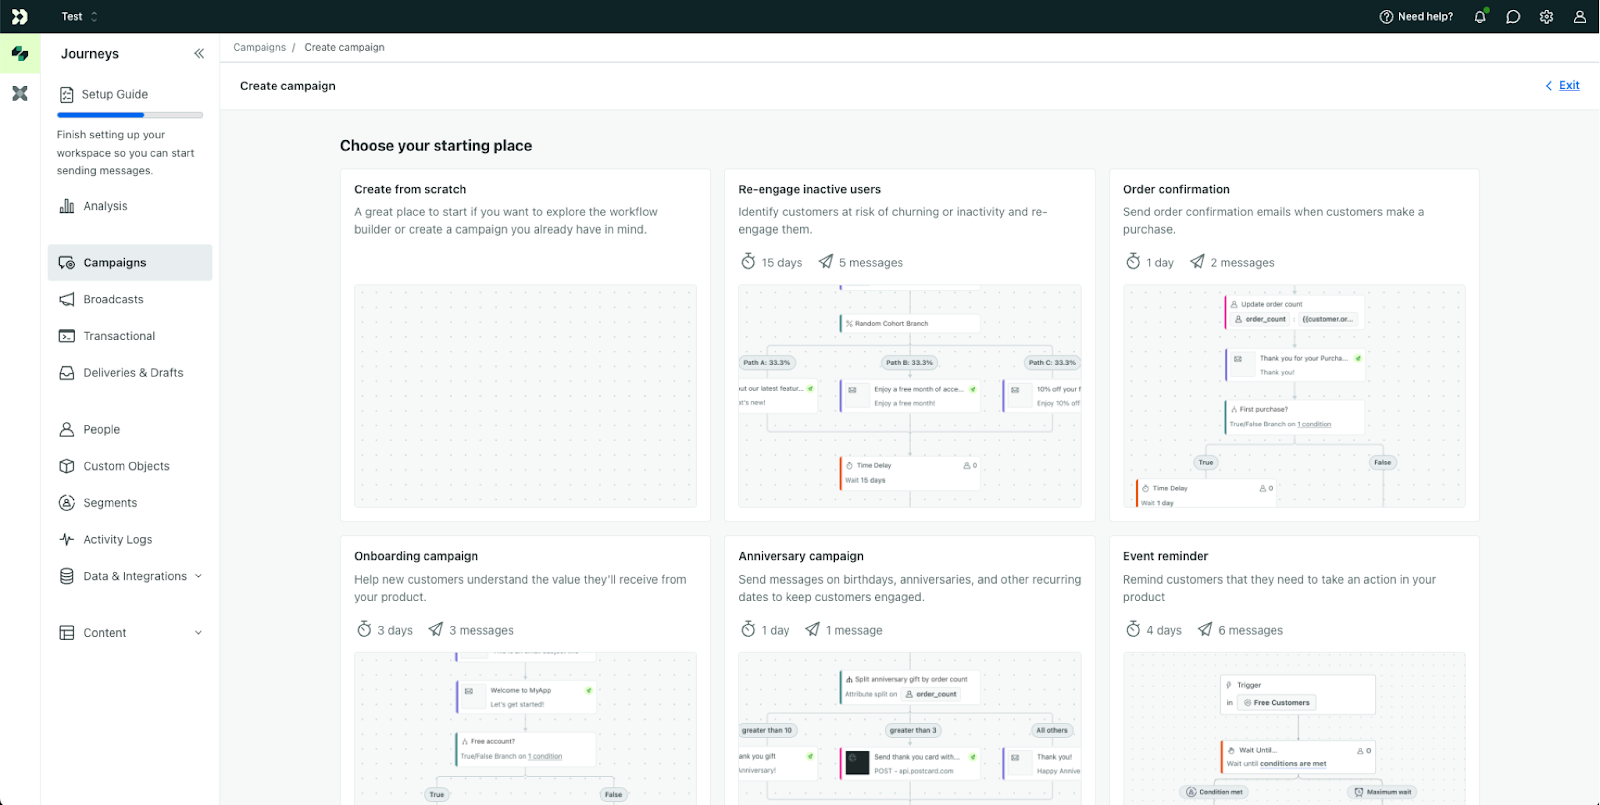
Write a descriptive name and create the campaign.

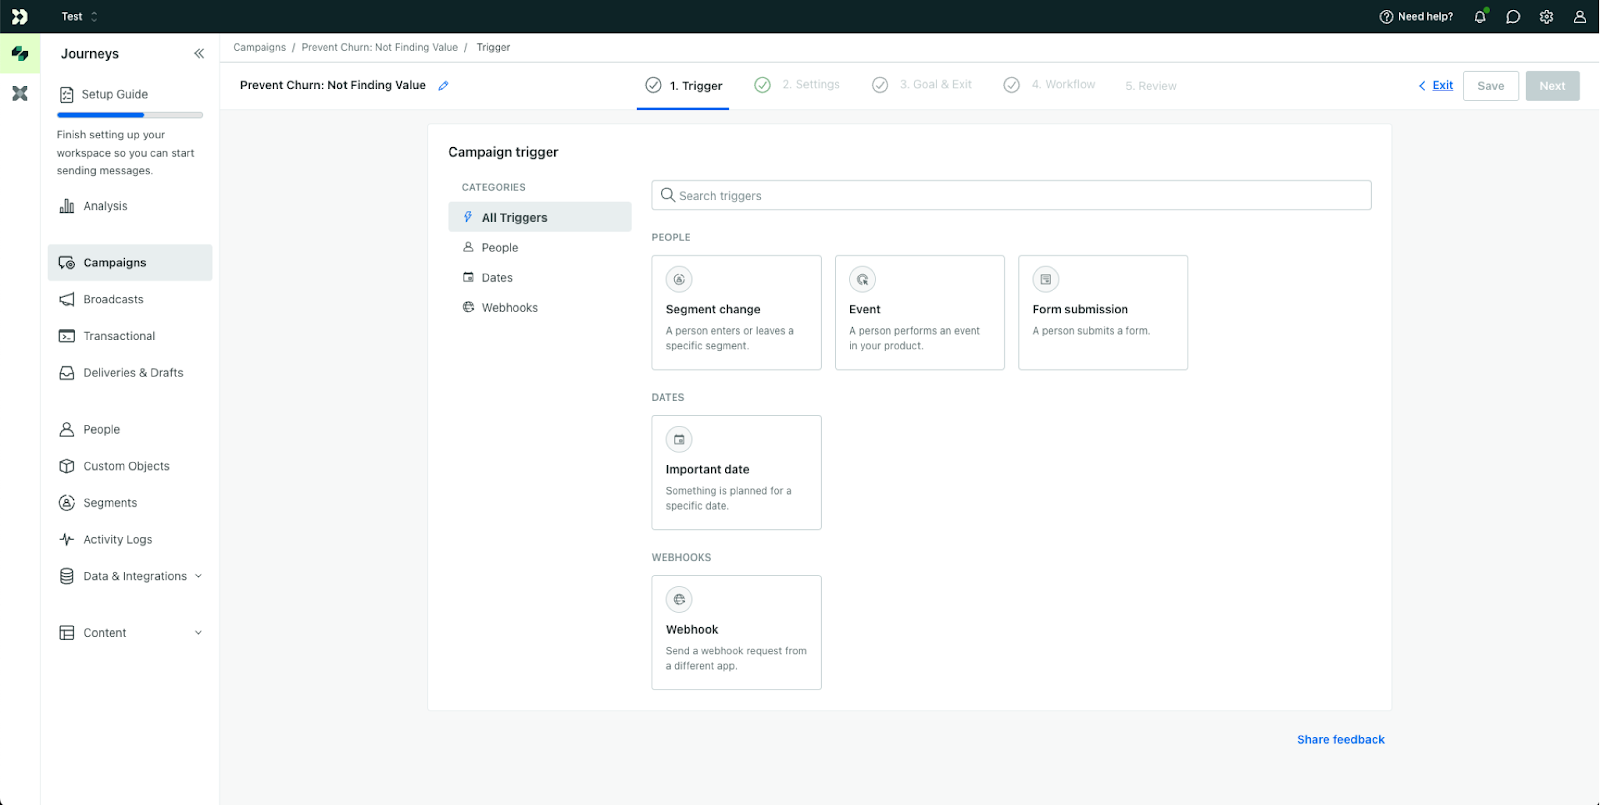
For the Trigger, select Segment Change.
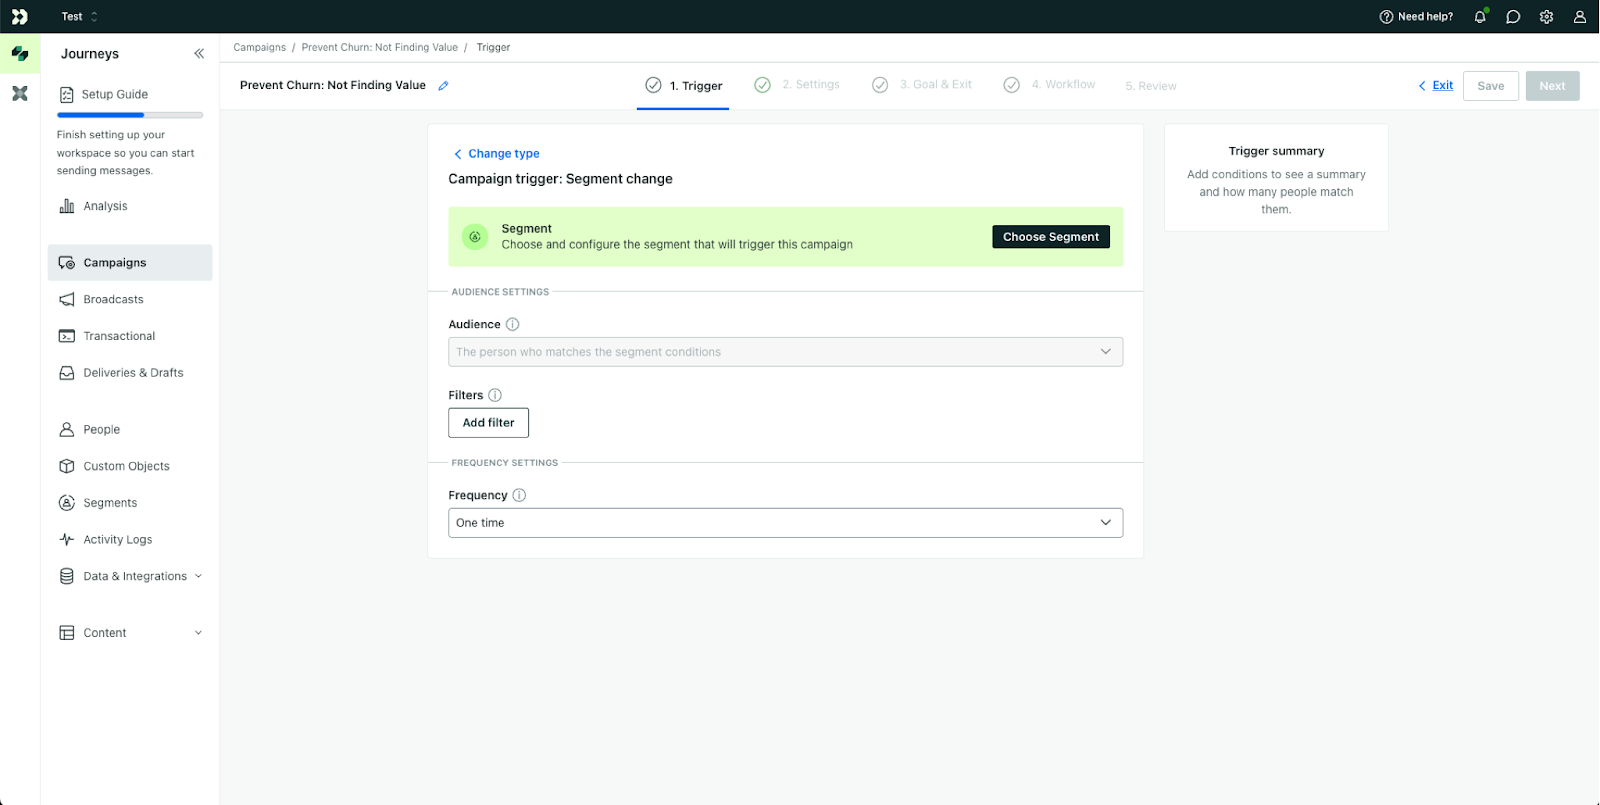
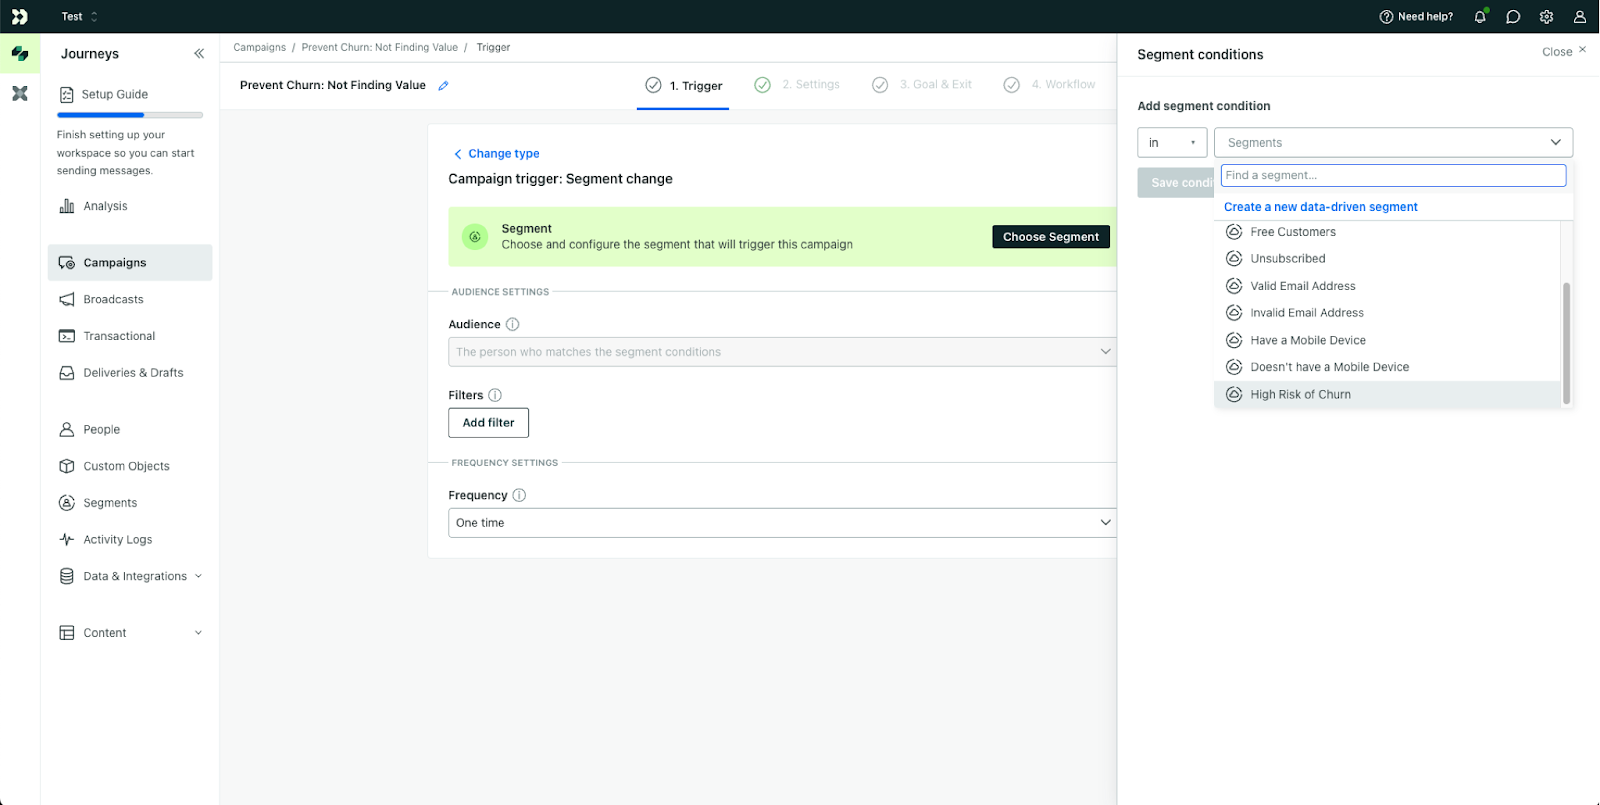
Click Choose Segment.
In the Segment Conditions panel, find the segment we created earlier: High Risk of Churn.
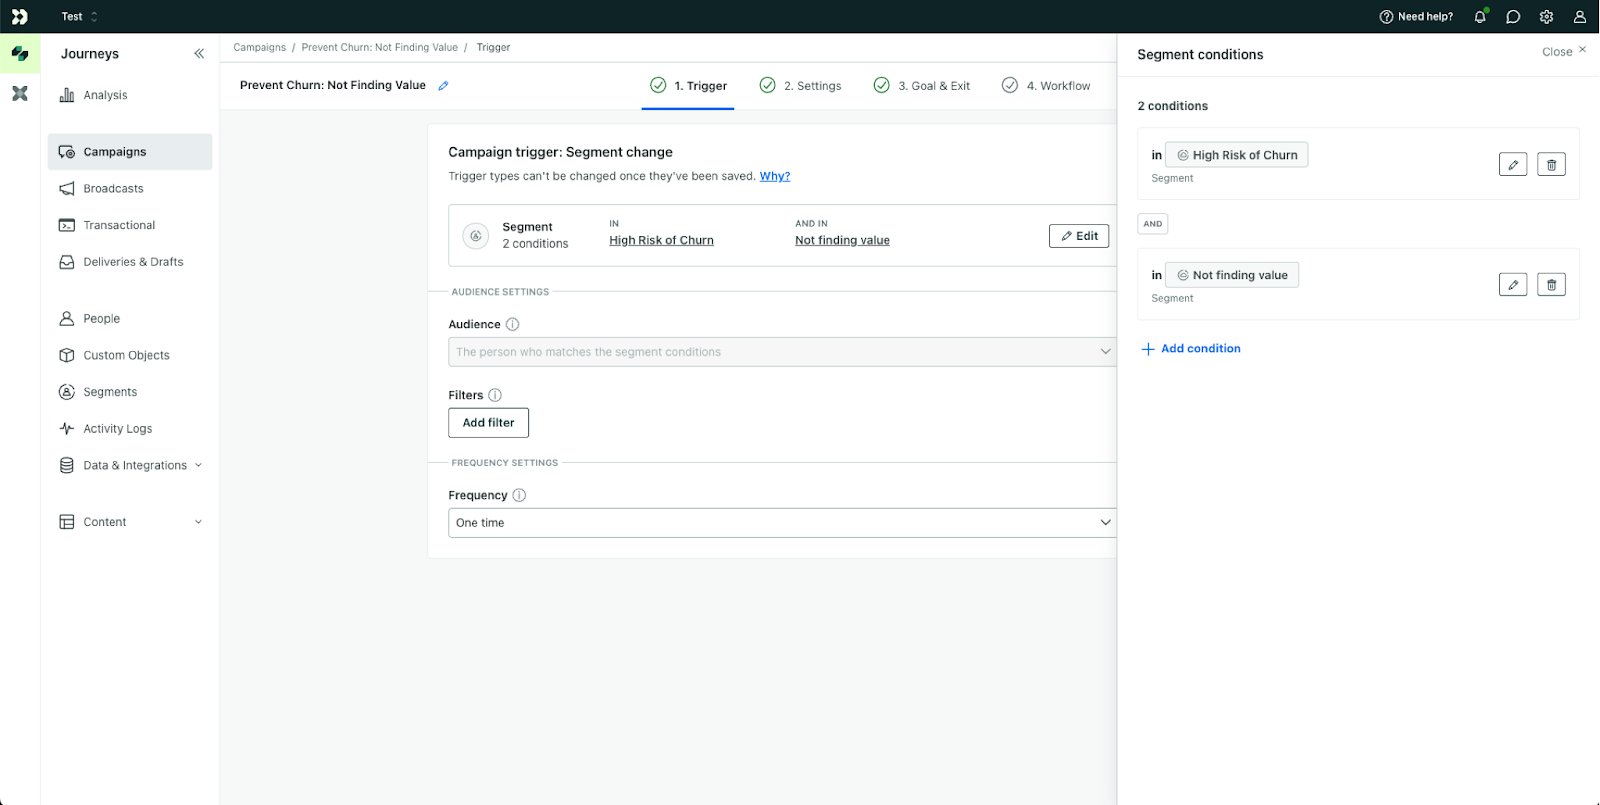
Combine the Segment conditions to include the Not finding value Segment we created earlier.
In the Goal & Exit tab, feel free to set a specific goal here if your company tracks one. For example, we can count this goal achieved if the user’s churn score goes down and they are removed from the High risk of churn segment.

In Workflow tab, add an Email to send to these users. If in-app messages or push notifications suit your use case, use those instead. In either case, your aim here is to:
- Remind these users of the value they’re getting from your app
- Connect the value they’re receiving to specific features or actions that they haven’t used yet
- Provide guidance on the feature or action

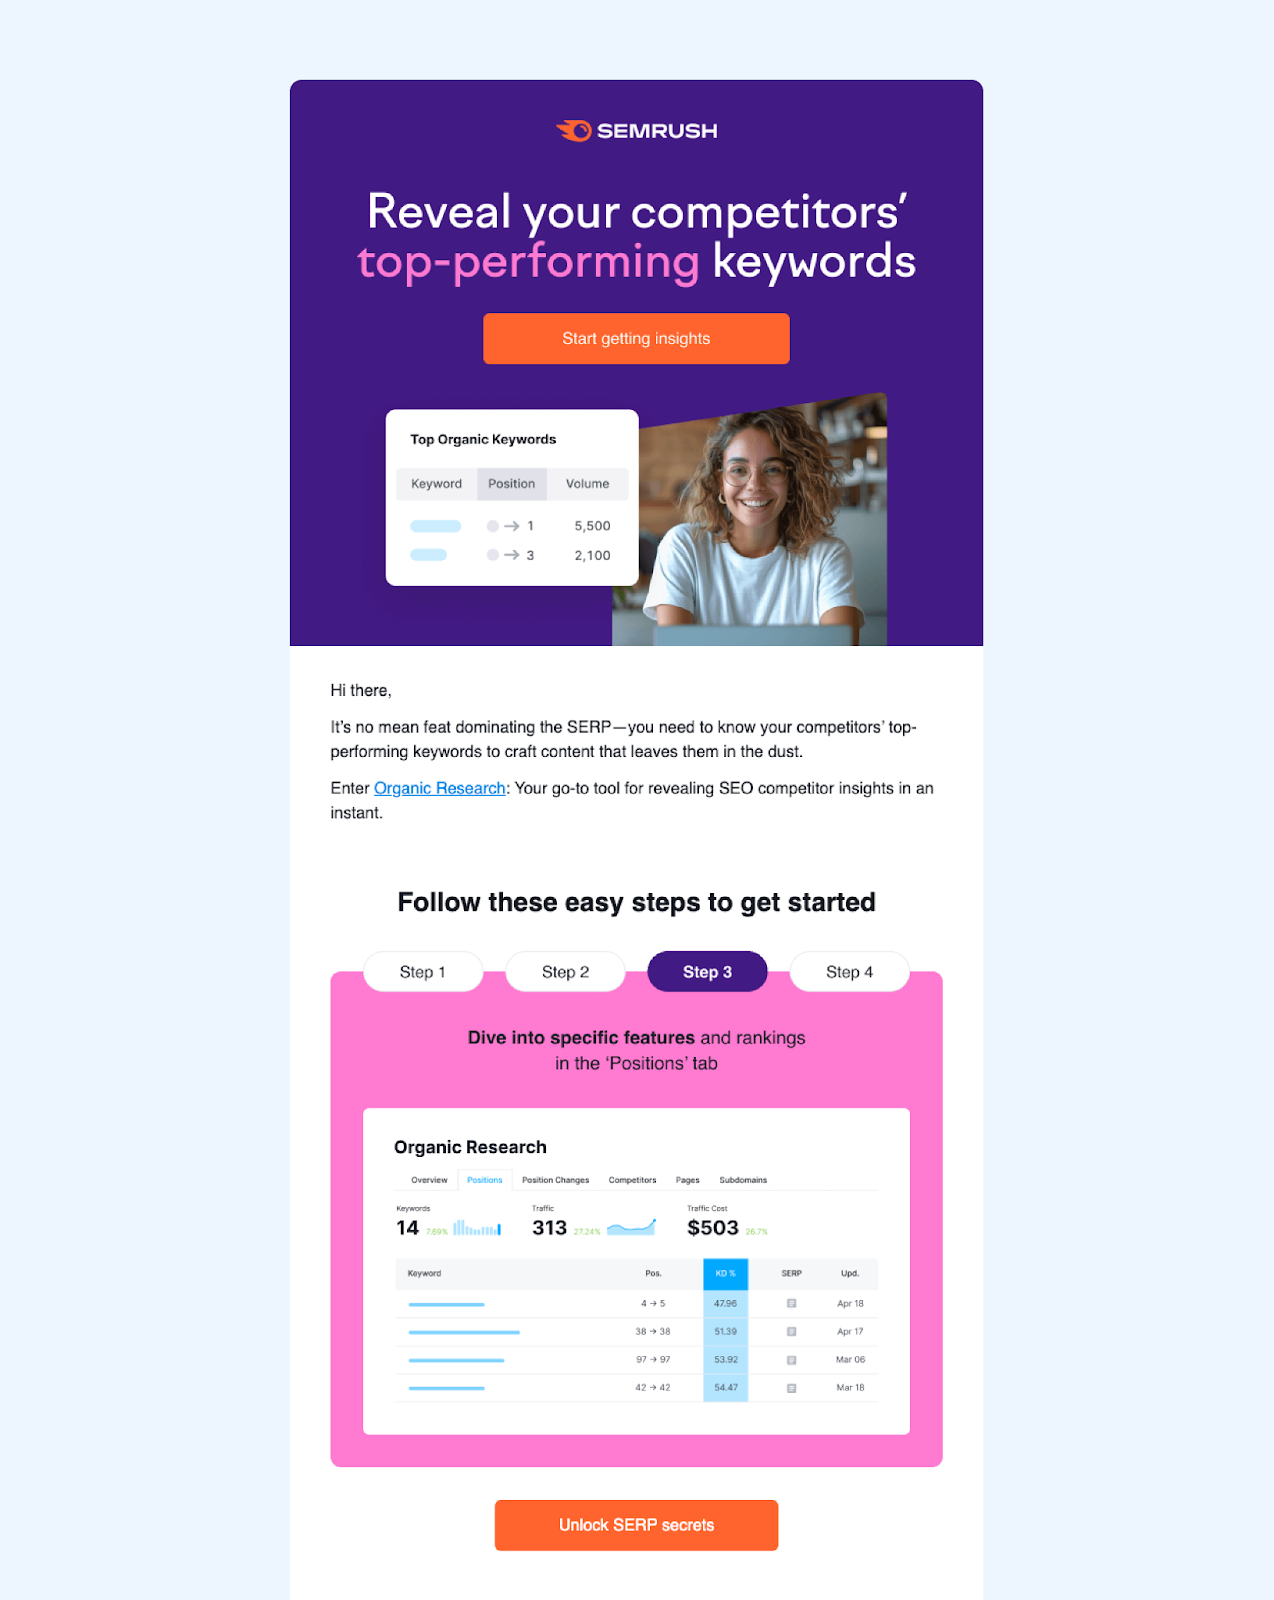
If you need email inspiration, Semrush does a good job of ensuring users are getting full value out of their suite of products and features. Consider writing 1 email per major feature or area in your app to drive home the value that your users are getting out of it. Focus your messaging on getting users to do 1 or 2 key actions in your product.
Keep your outreach focused to a single action at a time. If you have multiple key actions (e.g. Create a File and Share a File), send subsequent messages at a later date. Remember, it doesn’t have to be just emails – utilize in-app, SMS and other types of messaging.
For high value customers, we recommend flagging these accounts to your Customer Success team and having a CSM reach out directly to them 1:1. We wrote another Play to help you set up some automated CSM workflows with HubSpot.
By combining Upollo’s powerful churn prediction scoring with your existing tech stack, you can now send tailored campaigns and personalized 1-to-1 outreach to your customers who are going to churn soon.
Need help crushing churn at your company? Upollo is here to help!

Get this Play for Free
Automate your churn prevention, conversion, and expansion strategies