Increase Trial Conversion Rate with Upollo and Loops
Provide personalized onboarding support to trial users to drive adoption and increase conversion rate.
What this Play does:
Provide a top-notch onboarding experience to trial users through personalized automated outreach. Leverage user data to identify people who have started a Trial recently, but don't look very likely to convert to a paid account. Drive product adoption, gather feedback, and maximize trial-to-paid conversions.
Requirements:
For this Play to work, you should have the following accounts set up:
- Upollo Account: Upollo brings together all of your customer data (App/Website, Billing/Subscription, CRM, Customer Support) to provide insights and predictions for Conversion, Churn/Retention, and Expansion. Get started for free.
- Segment Account: For collecting your app data and sending Upollo insights to Destinations like Loops. This Play assumes your app/website’s data is successfully flowing into Segment, and you’ve already completed the Segment Setup with Upollo.
- Loops.so Account: For sending emails to your users. You can use a different email provider - this Play will use Loops as a Segment Destination to send emails to users based on custom criteria. This Play assumes you’ve already set up your domain via the Loops documentation.
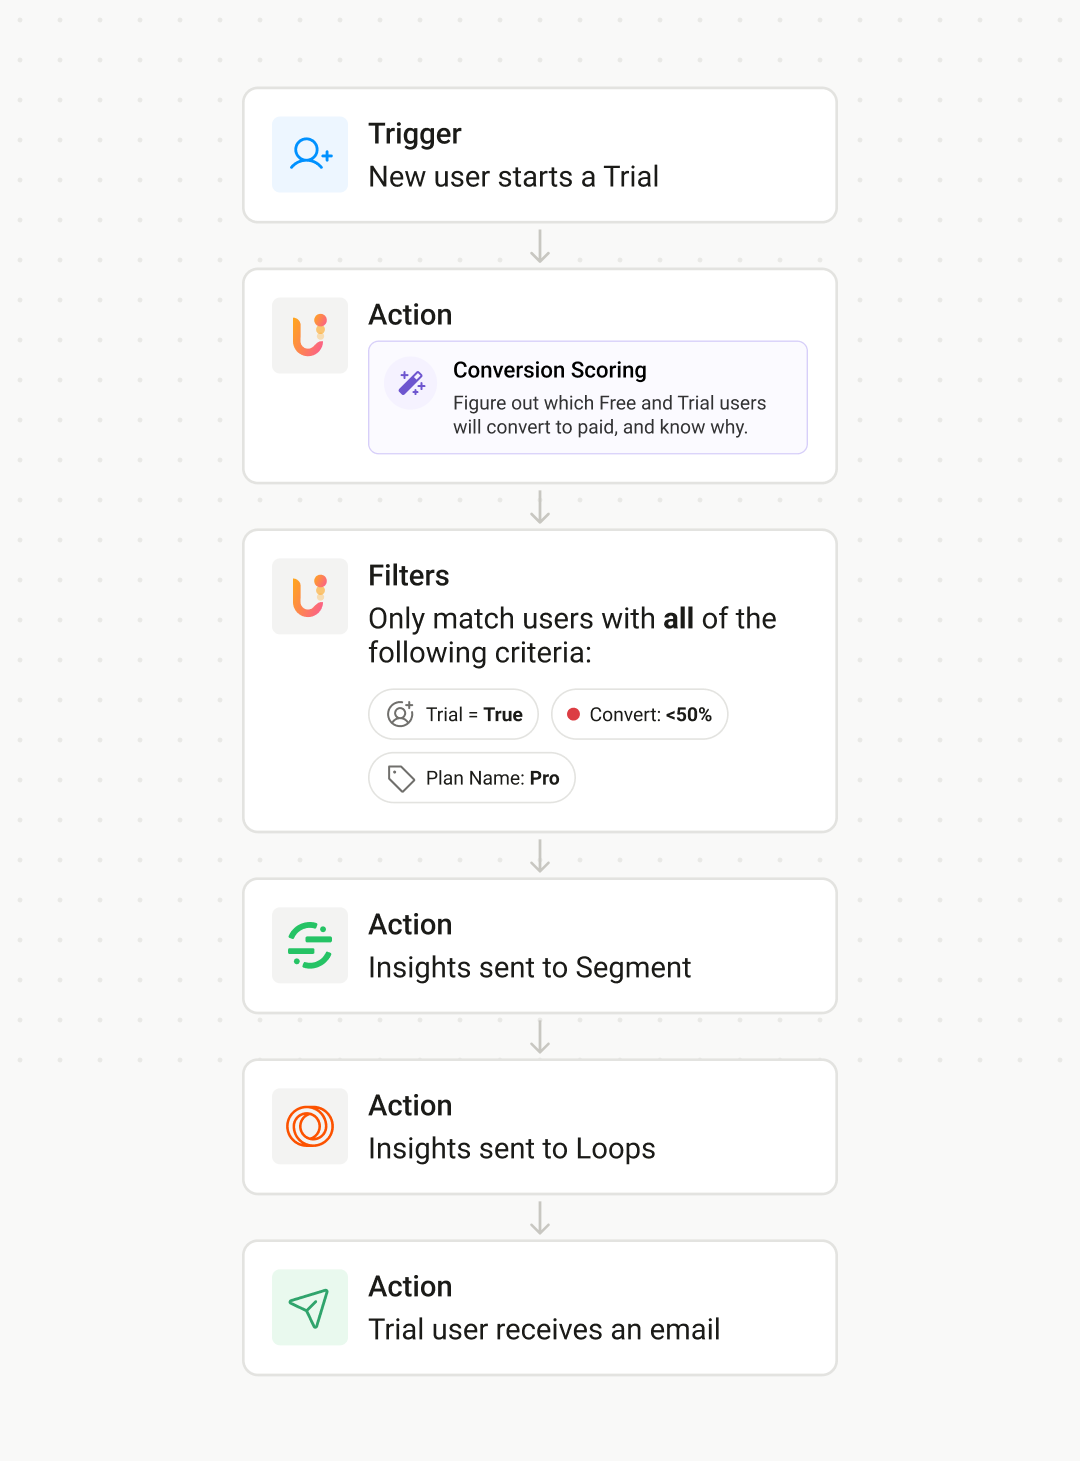
Here’s an overview of how we’ll be moving data between Upollo and these other tools throughout this Play.
Log in to your Segment dashboard. Select “Catalog” from the left the navigation.

Search for “Upollo” and select the Upollo from the “Sources” section in the Search Results.

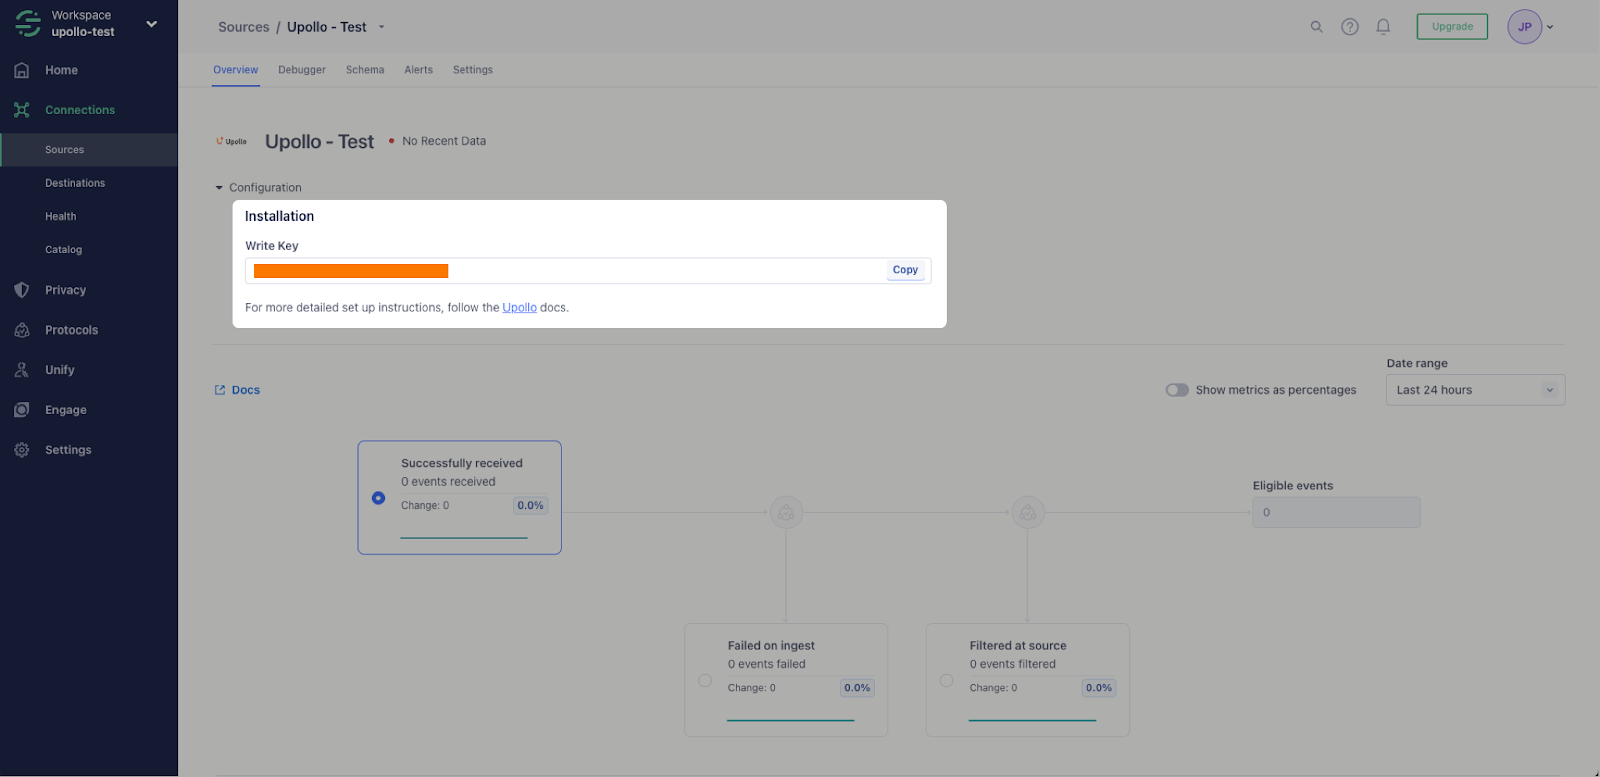
Set a name for this source.

After setup, copy and paste the Write Key in the Segment UI. Be sure to keep this key private. For full setup instructions, refer to the Segment Documentation.
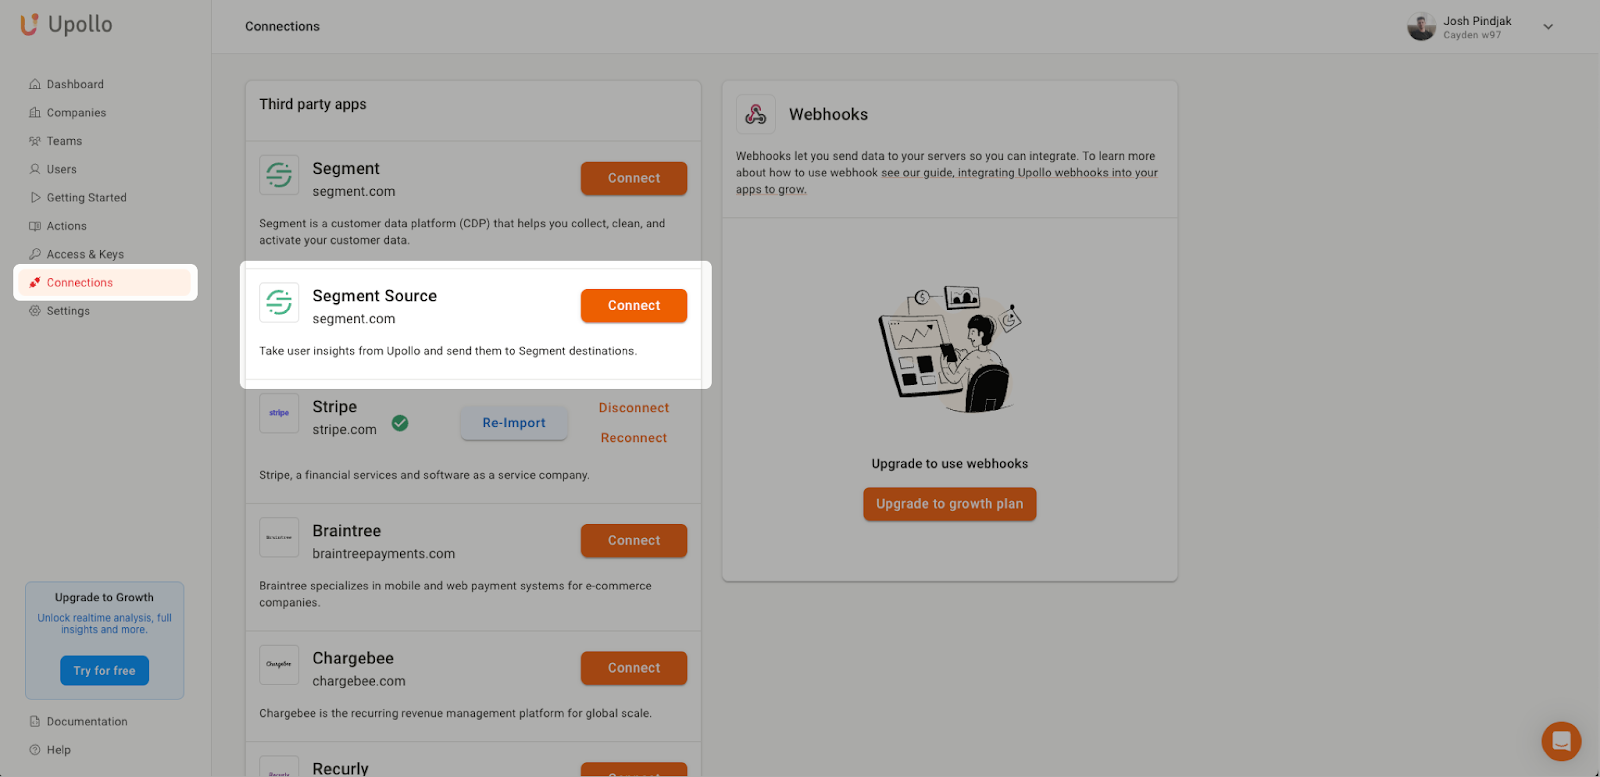
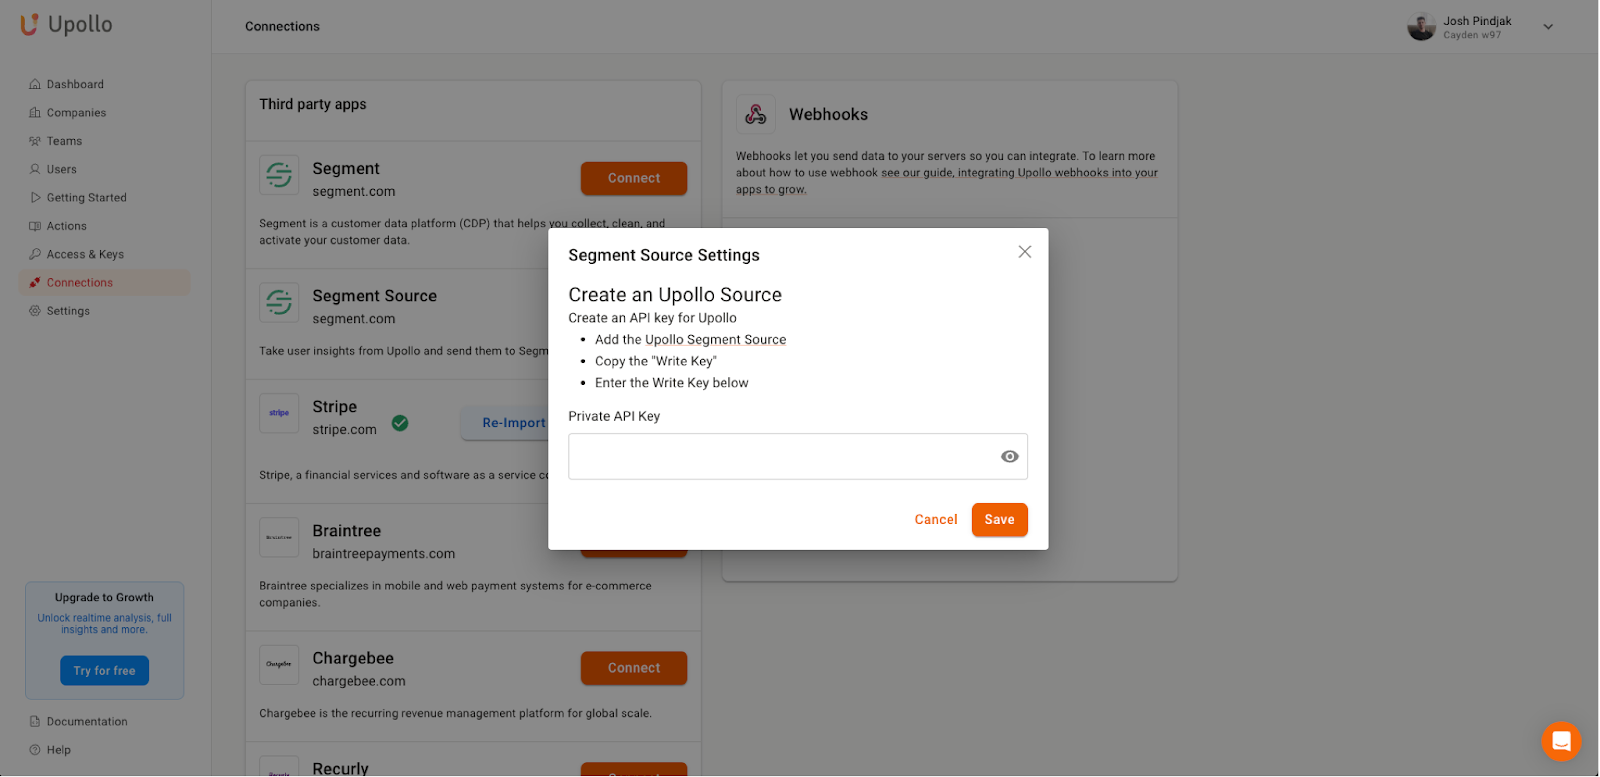
In Upollo, go to the Connections page and find the Segment Source connection and click Connect.
In Upollo, paste the Write Key from Segment into the text field marked Private API Key. Click Save.
Once your changes are saved, insights and predictions from Upollo can now be used as Source within Segment. Upollo will send information about which users have a high or low likelihood of Converting to a Paid user, so that you can take direct action. In the rest of this Play, we’ll be sending them an email with Loops.so.
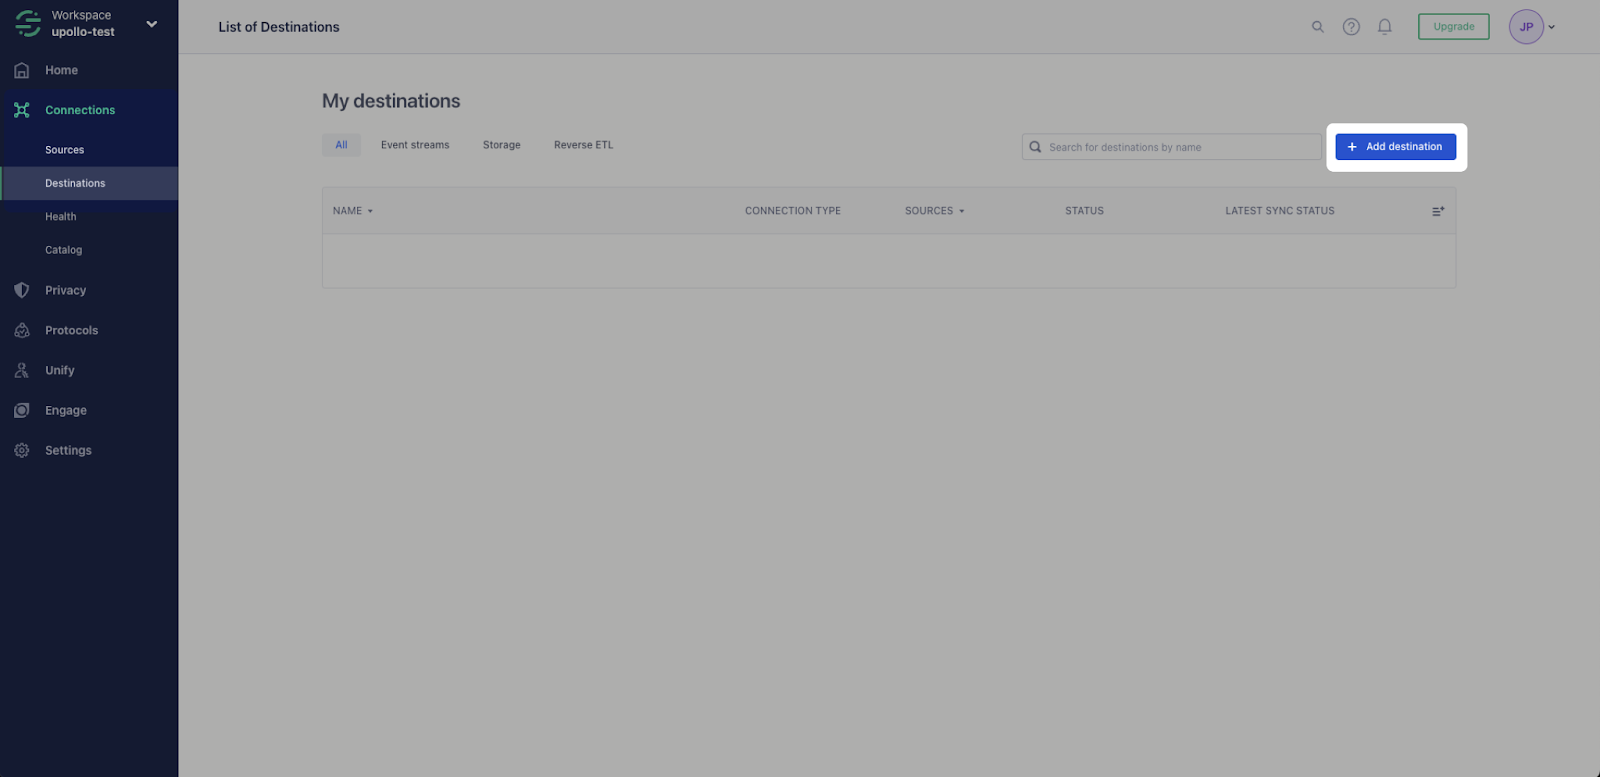
In the Segment dashboard, go to the Destinations page. If you don’t have any Destinations already set up, this page might look different or empty. Click Add destination.
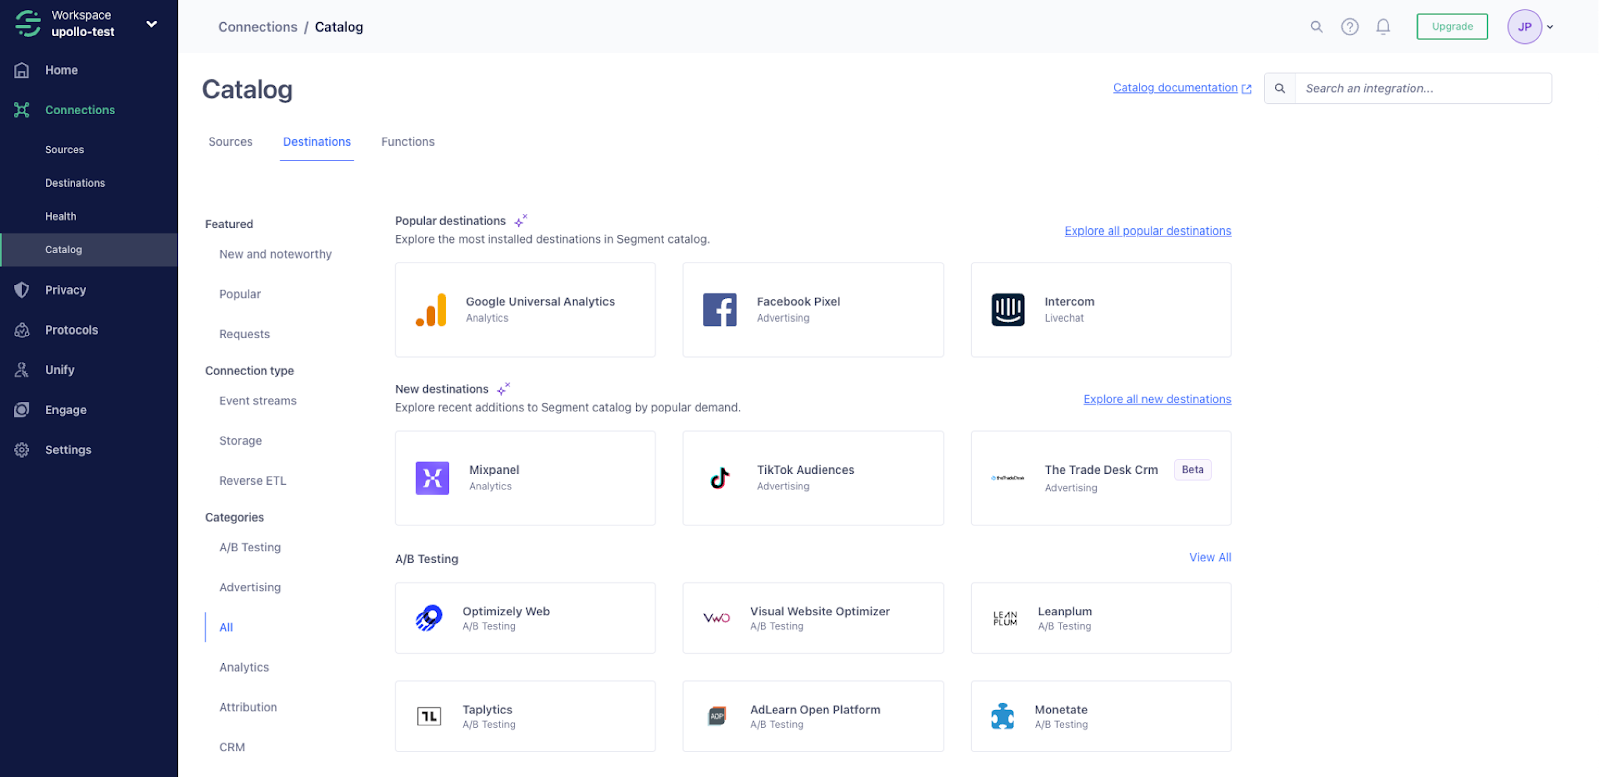
In the Catalog, search for Loops.
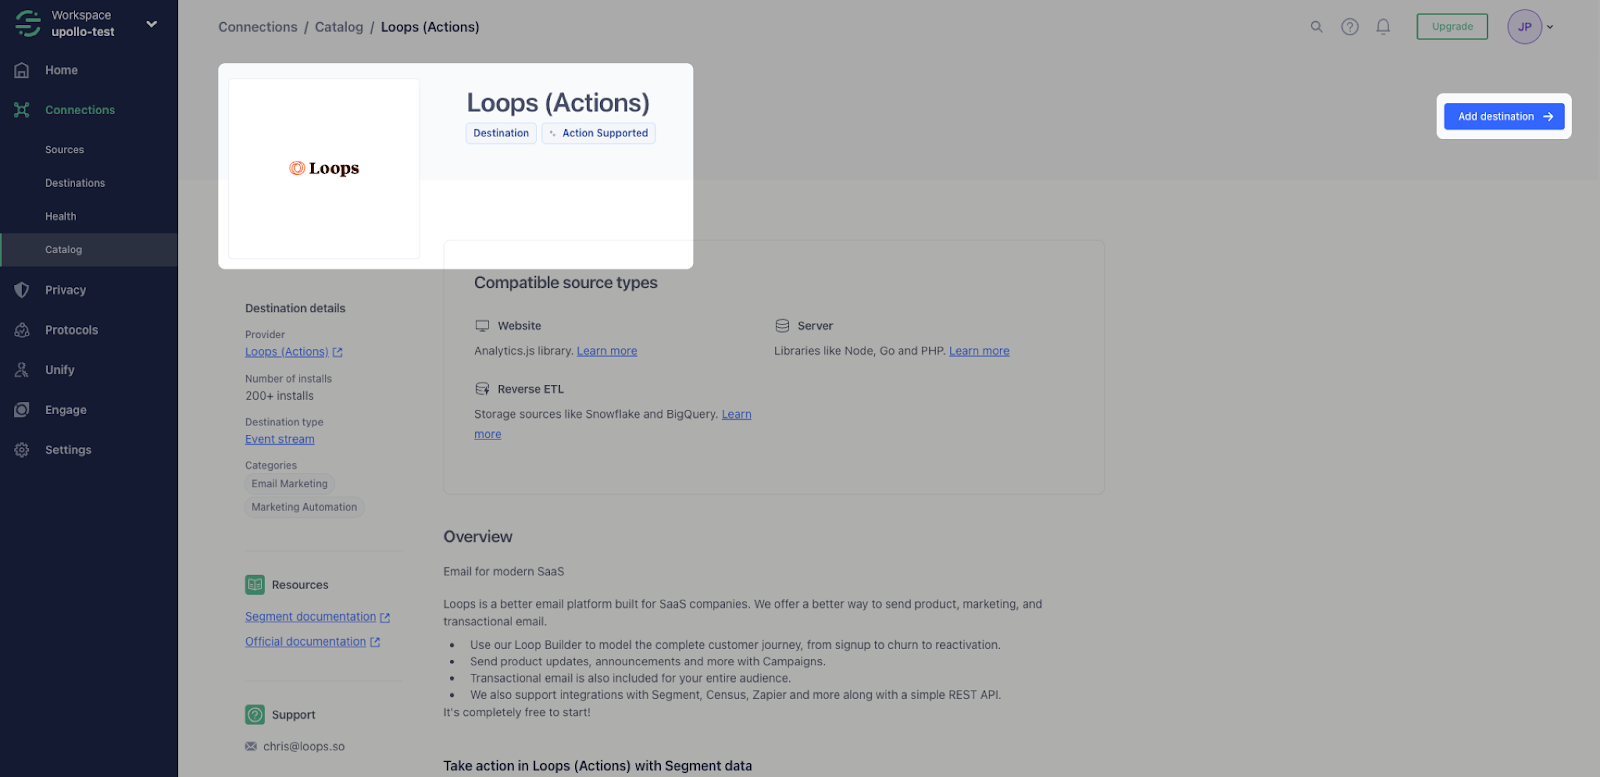
After you’ve found Loops (Actions), click Add Destination.
To set up the Destination, you’ll first need to Select a data Source. You should see the Upollo Source that you created in Step #1 above. Select Upollo from this list and click Next at the bottom right corner.

Add a name and click Create destination at the bottom.

Once the Destination is created, you should be in the Settings tab within Loops. Note the location of the API Key field; you’ll need to add in an API Key generated in the Loops dashboard in the next step.

In a new tab or browser window, log in to your Loops.so account. Navigate to Settings → API and find API Keys section. If you’ve never created an API key before, this section will be empty. Click Generate key and provide a name for the API key, such as “Segment”. Be sure to keep this key private. Once the API key is created, copy the key by clicking the “copy” button next to the text field.

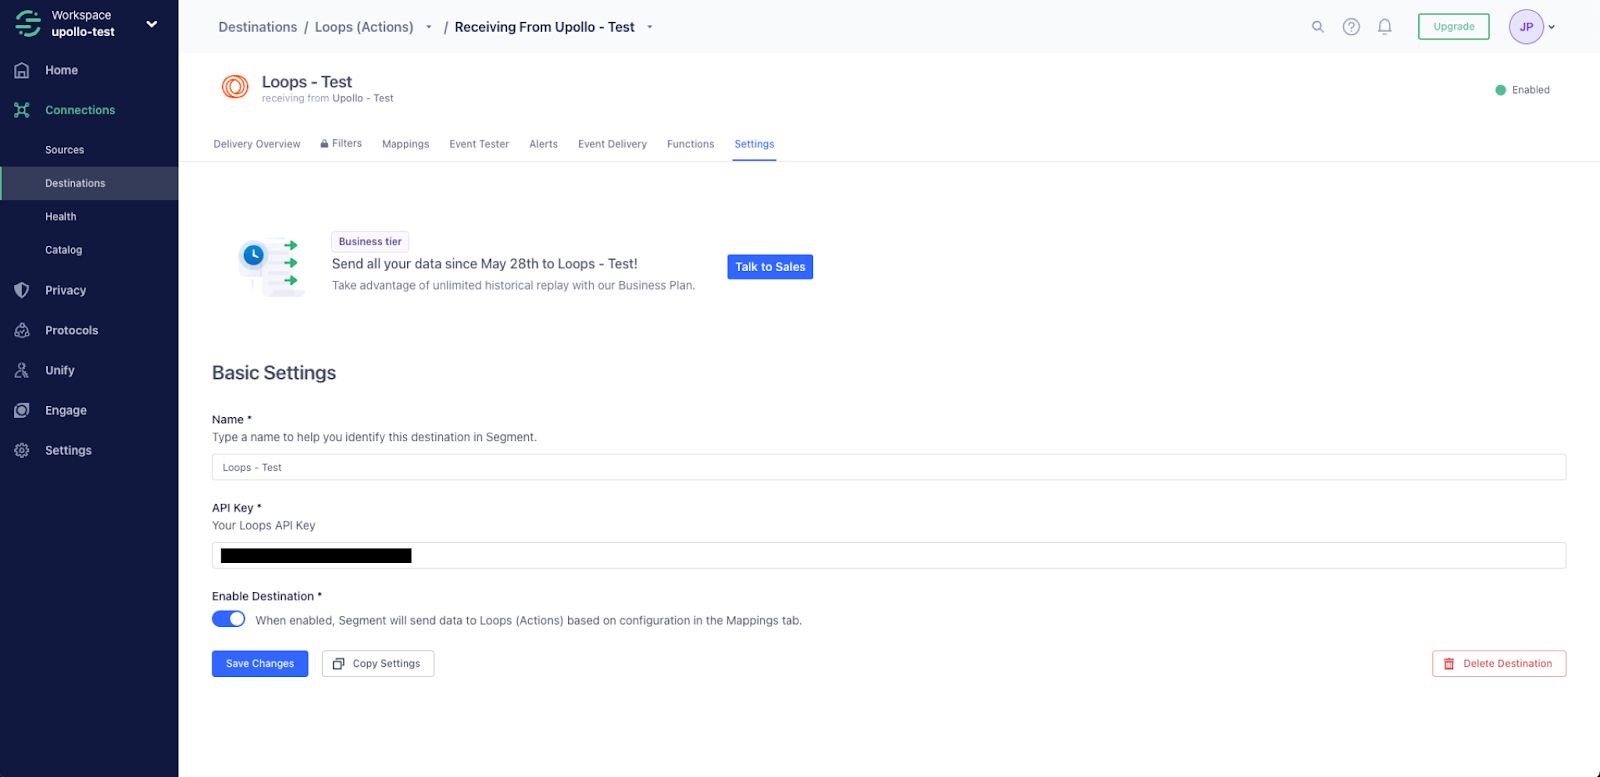
Back in the Segment dashboard, go to Destinations → Loops → Settings tab. Make the following changes on this page:
- Find the API Key input field mentioned in Step #2 above and paste in the API key from Loops.
- Set the Enable Destination switch to On.
- Click Save Changes
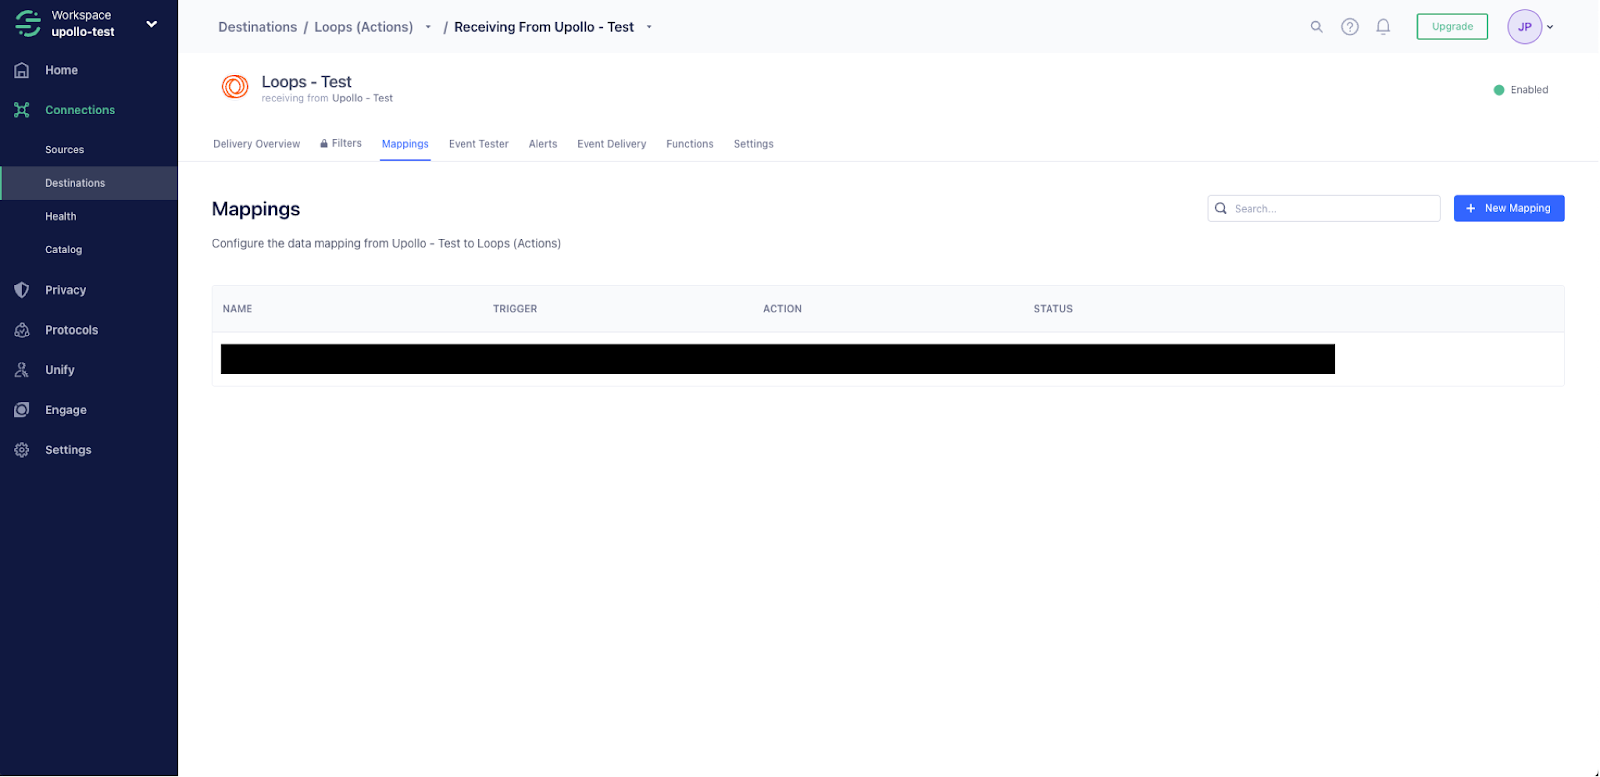
Next, we need to ensure our Mappings are correct. In the Segment dashboard, go to the Mappings tab for the Loops Destination. If you don’t have any Mappings set up, this page will be empty. Click “New Mapping”.
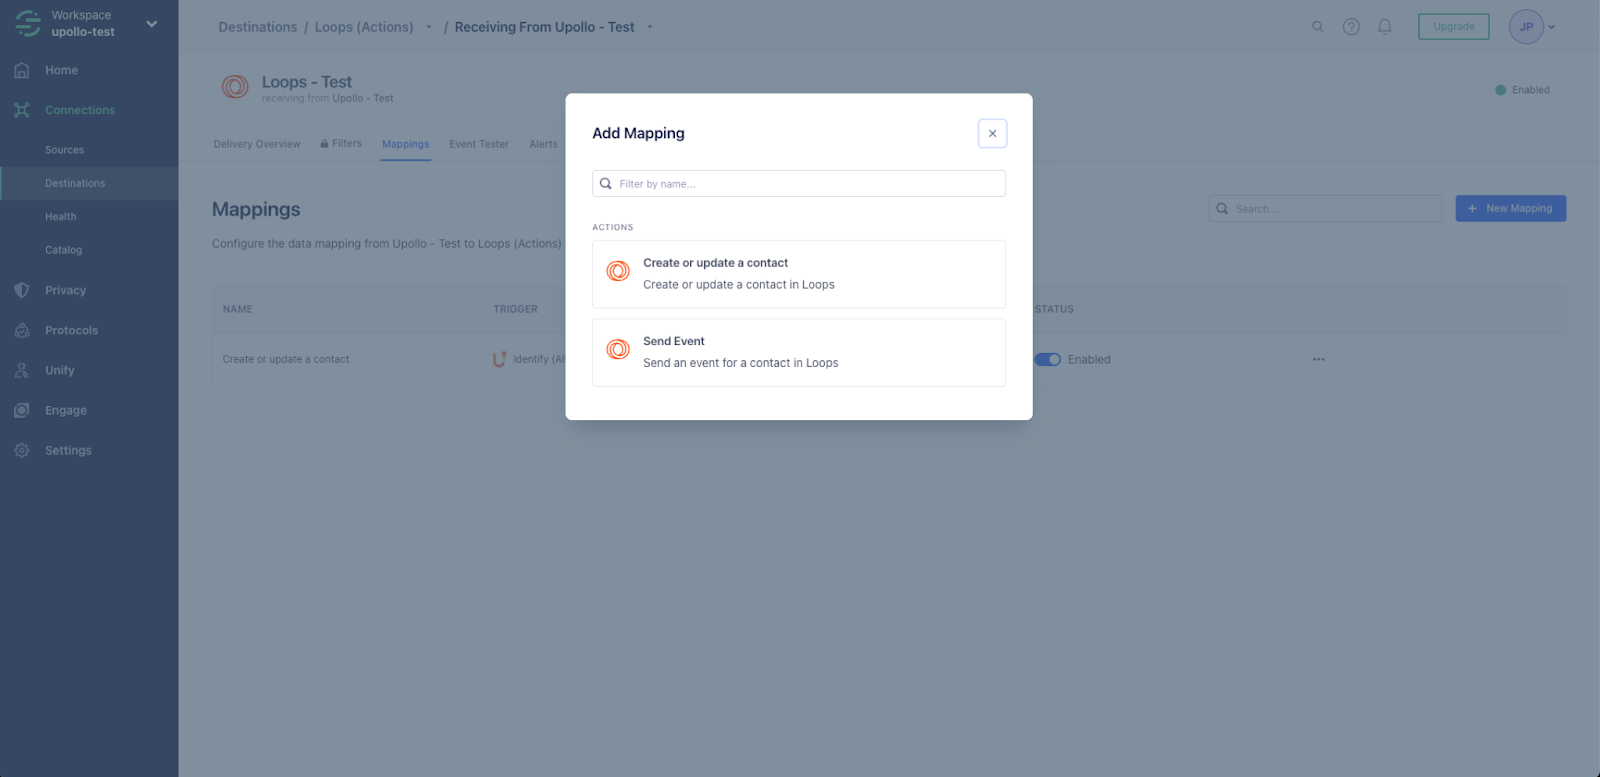
Select Send an Event.
For Step 1, set this to Event Type is Identify.
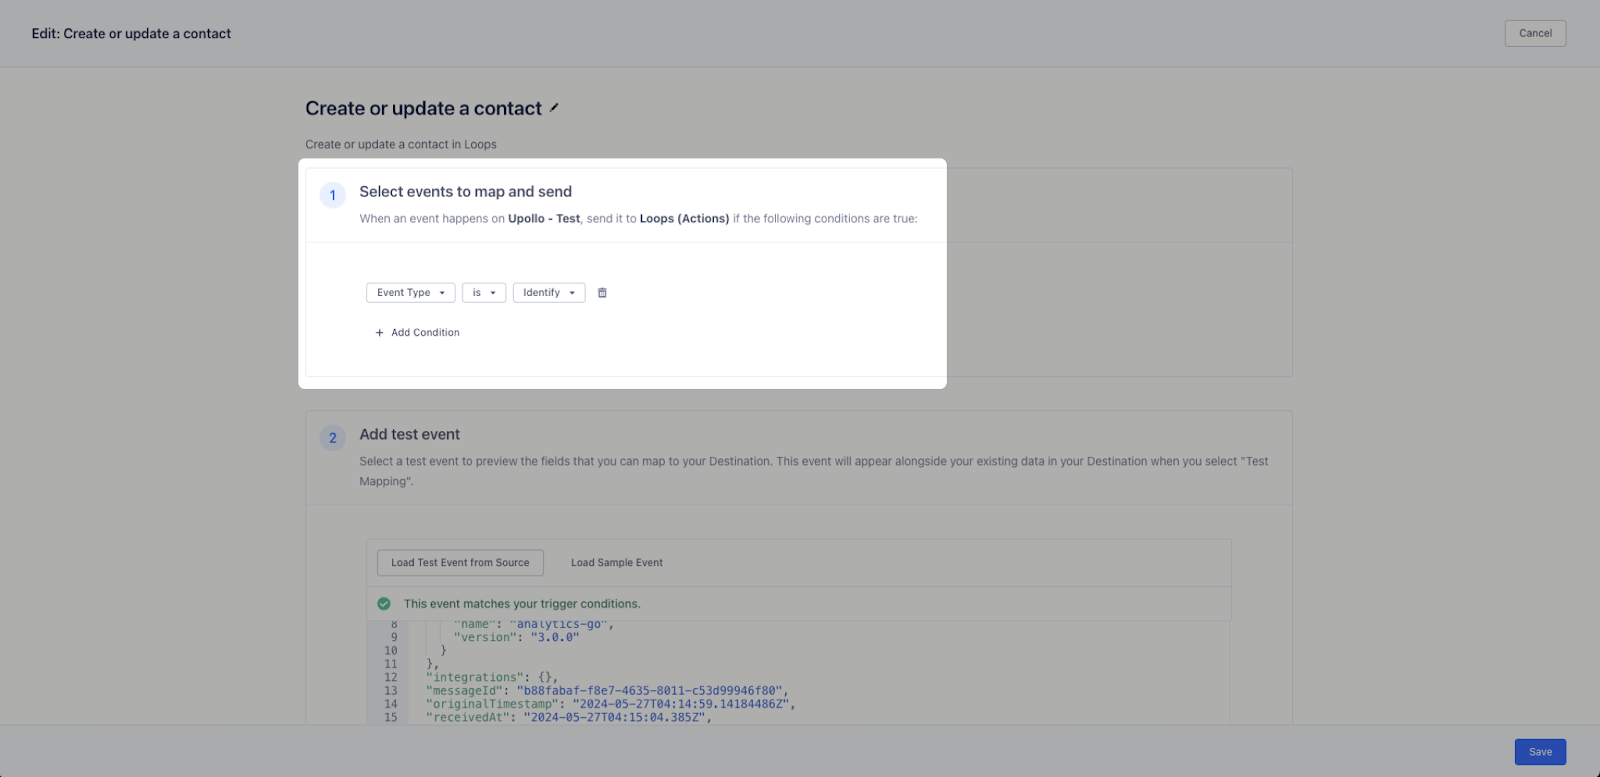
For Step 2, you can load a test event if your data is set up already. Otherwise you can use our sample event below to test it:
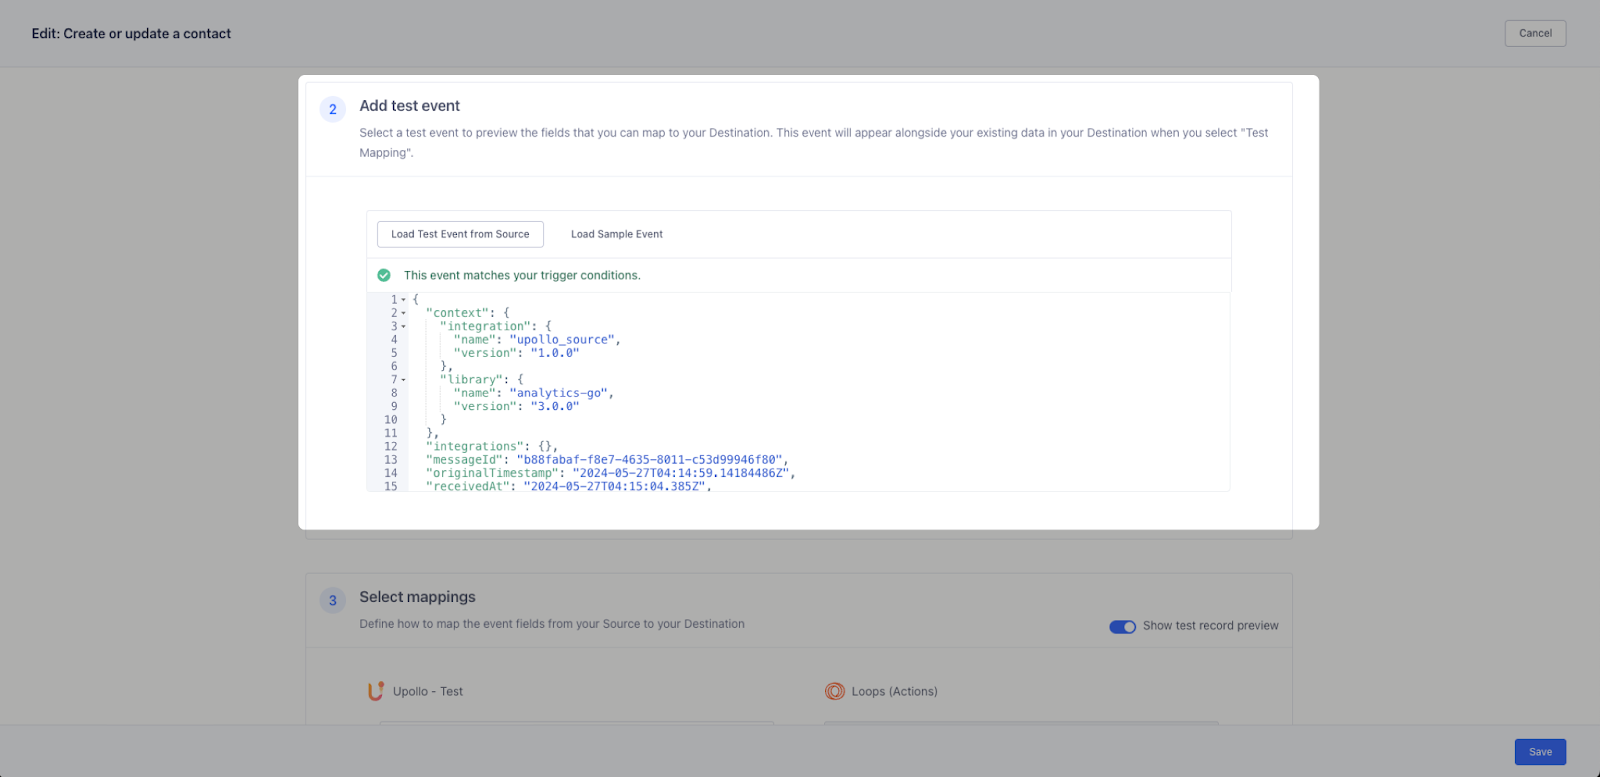
For Step 3, Most mappings are set up automatically. For the Custom Contact Attributes field in Loops, select Edit Object and add 4 fields shown below:
- traits.plan → Plan Name (Ensures the user’s current Plan name is sent to Loops)
- traits.isOnTrial → Is On Trial (Ensures the user’s trial status is sent to Loops)
- traits.conversionScore → scoreConversion (Ensures the user’s Conversion score is sent to Loops)
- traits.churnScore → scoreChurn (Not required for this Play, but you might find it helpful in the future. A churn score is a 0-100% likelihood that a given user will churn in the future.

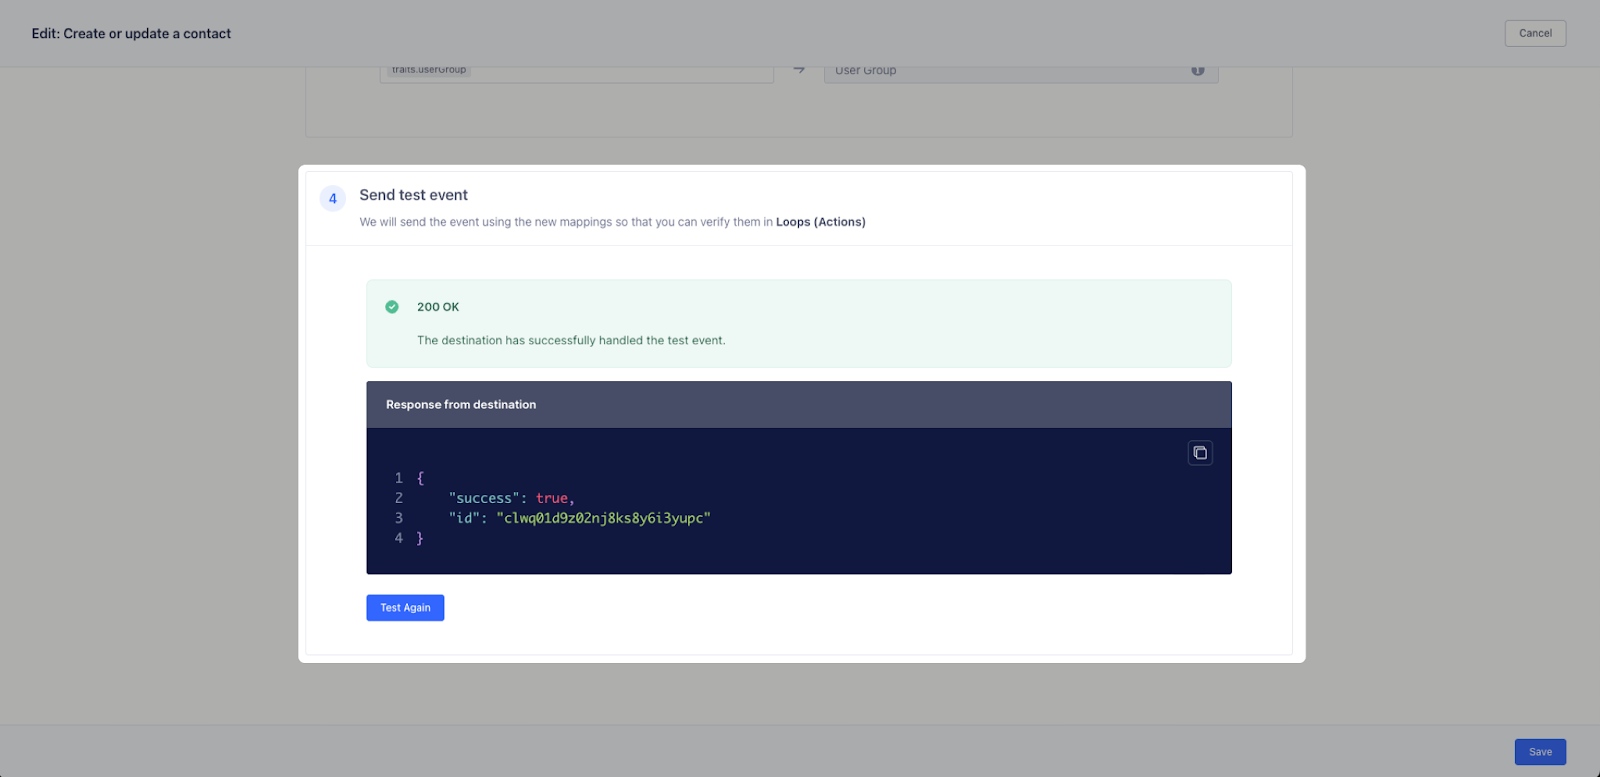
For Step 4, send a Test event and you should see a 200 OK success message.
Back in the Loops dashboard, confirm the event triggered successfully. Go to the Audience page. If you see a single user added to your Audience, the Event was triggered successfully.
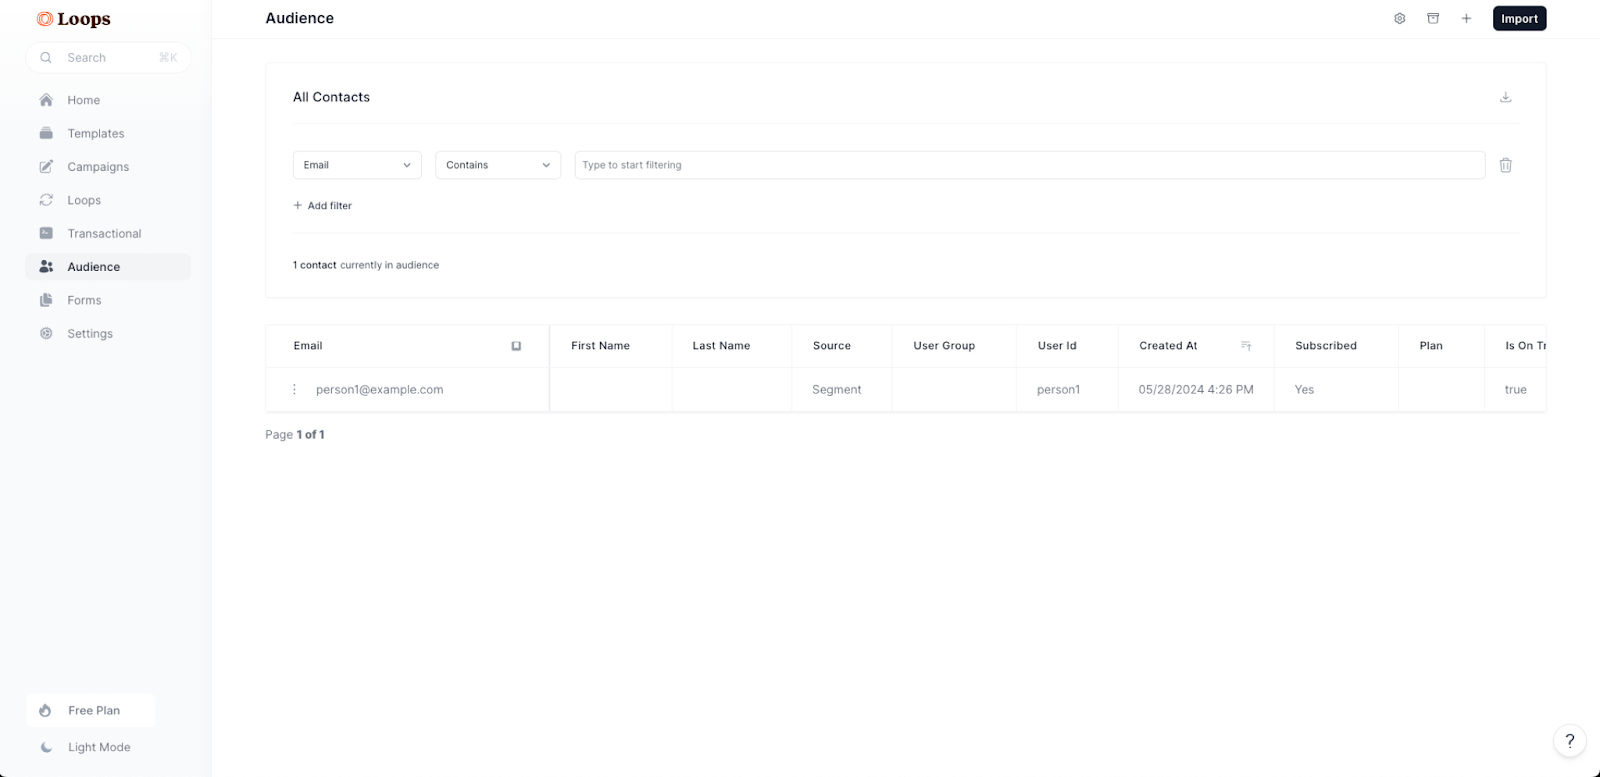
Click on the example user to confirm that your custom attributes have also transferred to Loops.

If you see data in the custom fields, well done! Proceed to the next step to use the data above to create a personalized onboarding experience for new Trial users.
In the Loops dashboard, go to the Loops page and create a new Loop. We’ll add ours to the Onboarding section.

In the Loop builder, click on Audience Filter and then the Edit Audience button.
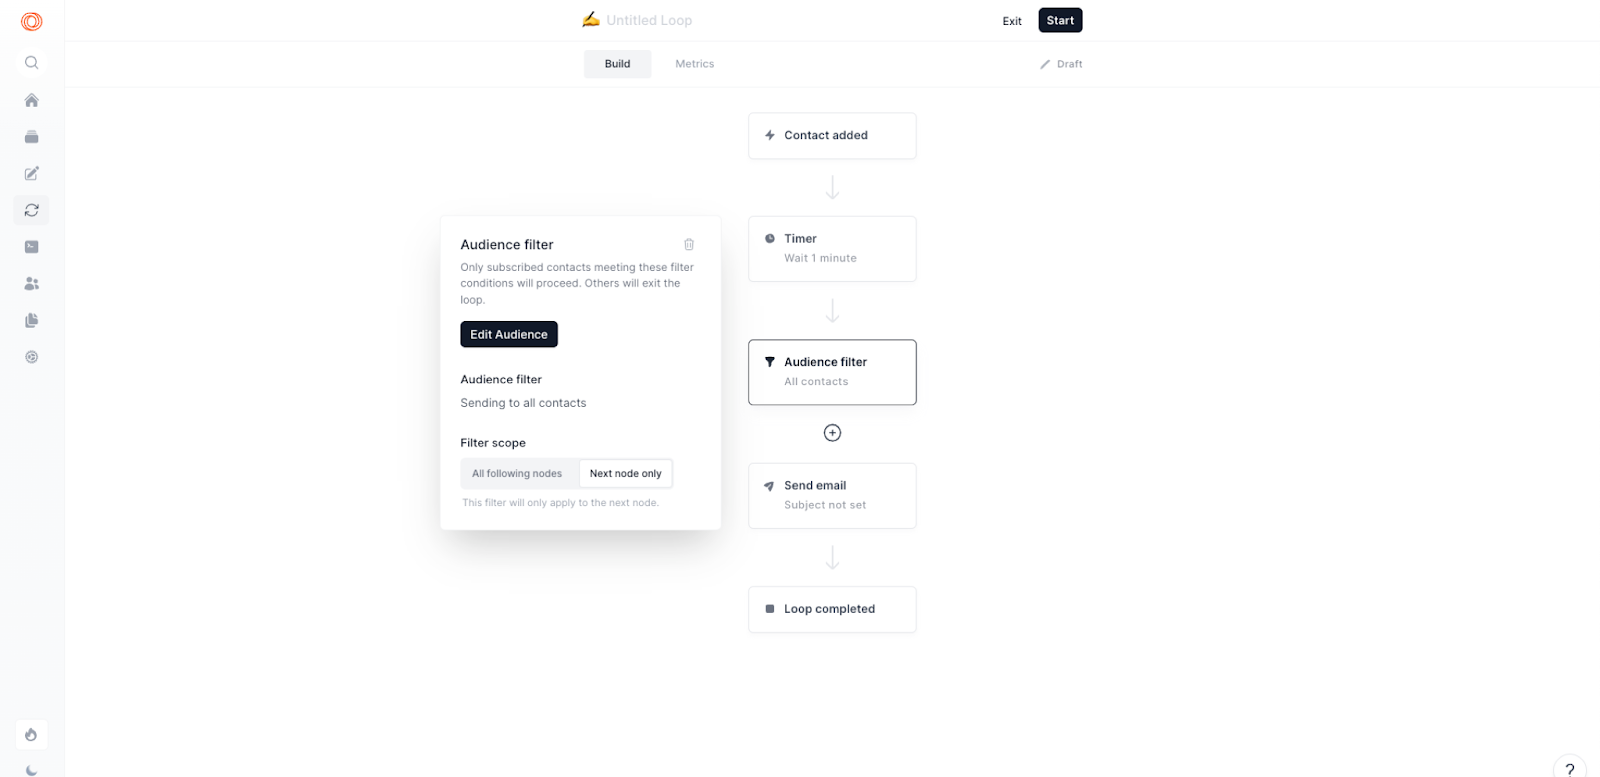
In the Audience filters add 3 filters, one for each of the three Custom Attributes set up during step 3 above.
- Plan Name: Pro (Replace this for whatever makes sense for your company)
- Is on Trial: is True (We only want to target people who have actually started a trial)
- Score Conversion: Less than 50% - In this Play, we’ll be targeting people with a low conversion rate, with a goal of increasing conversion rate within this cohort.
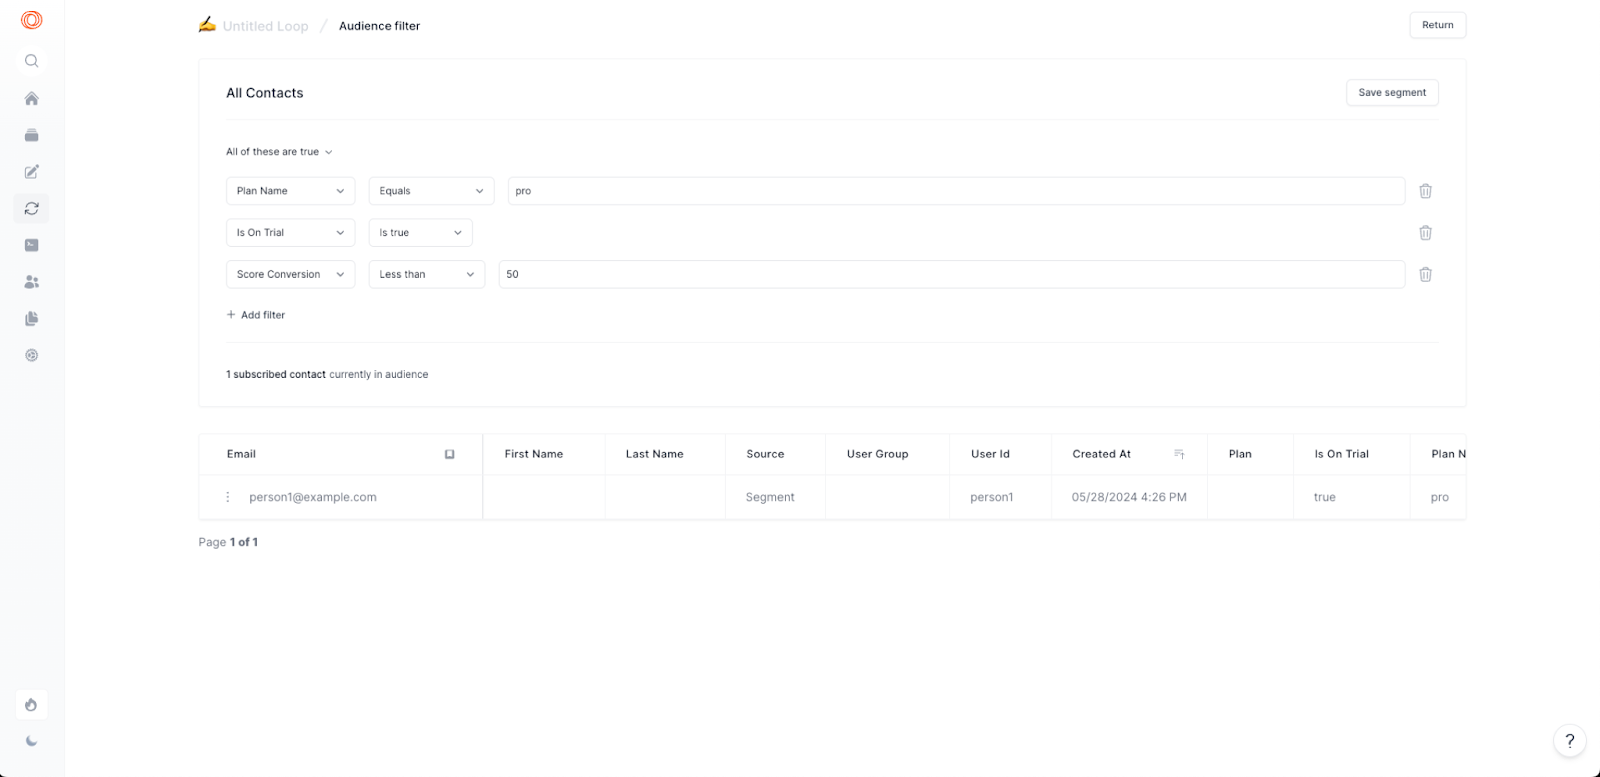
If the filters are set up correctly, you should see the “example” user from the test event sent during step 3. We can now use this audience to target only Trial users who have a particularly low chance of converting to a Paid account.
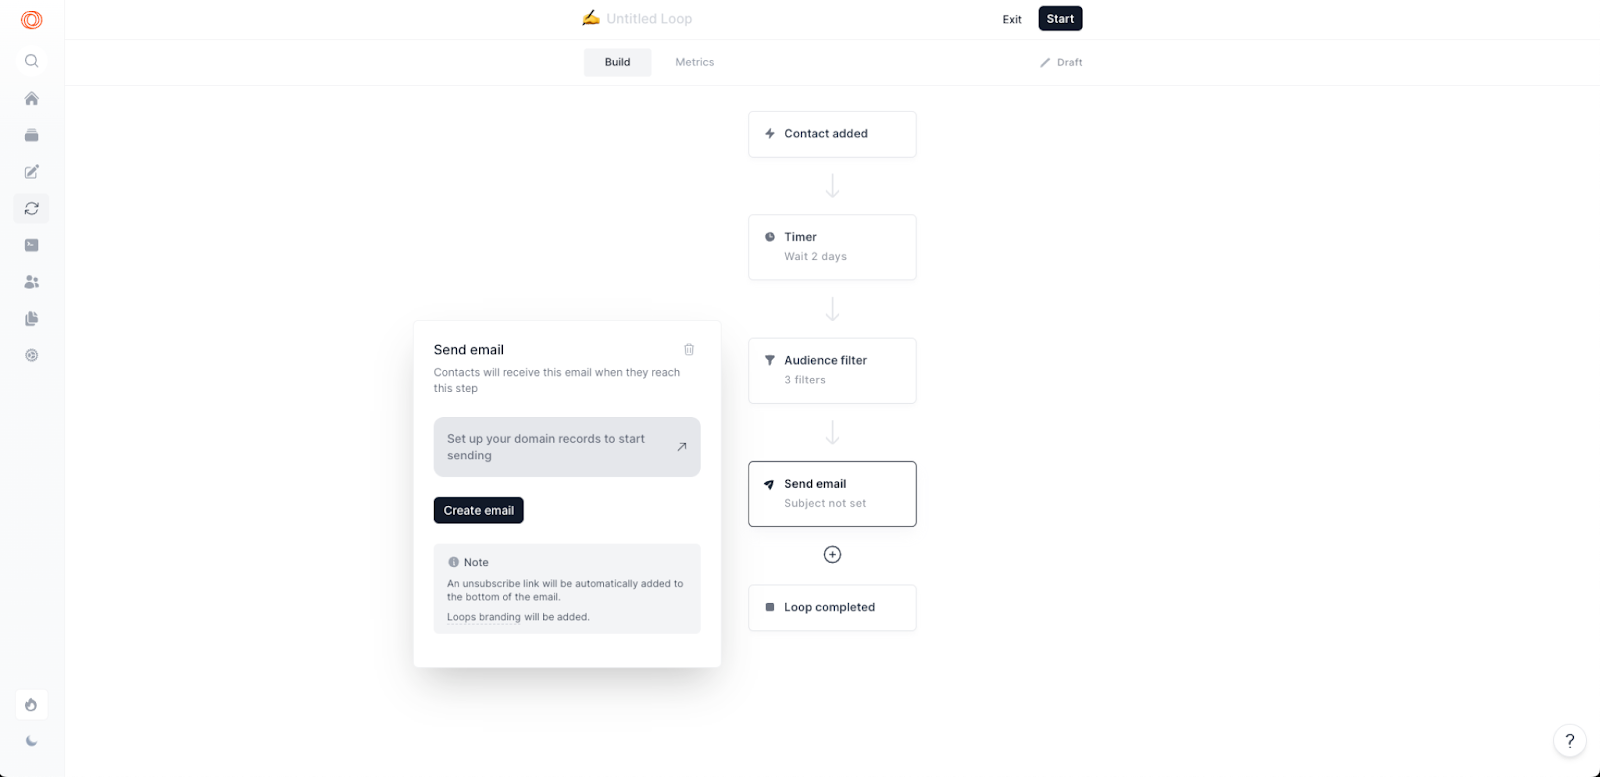
Click Return at the top right to save your audience filters and return to the Loop builder. From here, click Send email and create an email to send to these users. You can also use the Timer function to wait a few days after they sign up to start this campaign.
There are many ways to increase conversion rate. Here are a few ideas:
- Send personalized content based on their activity in the app
- Send educational content, tips & tricks, advanced functionality, etc.
- Point out under-utilized features or areas of the app they haven’t used yet
- Send a special offer or discount for upgrading to a Paid account.
Here’s our sample email template for getting a trial user to convert:
After saving your final email, set your Loop live and send yourself a preview email to ensure everything looks good. Don’t forget to set up UTM link tracking for your CTA buttons so you can track where your new signups are coming from.
By combining the powerful insights and scoring capabilities of Upollo with your existing tech stack, you can now send tailored campaigns to users who have a low conversion rate.


Get this Play for Free
Automate your churn prevention, conversion, and expansion strategies